
-
Home

-
Maintenance Kit Instructions
-
HP LaserJet 2300
- HP LaserJet 2300 Tray 1 Pickup roller installation instructions
HP LaserJet 2300 Tray 1 pickup roller installation instructions

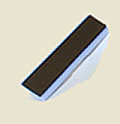
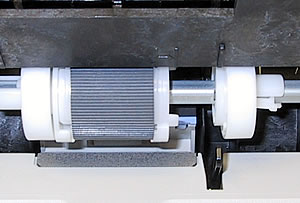
Accessing the Tray 1 separation pad and pickup roller.
 |
 |
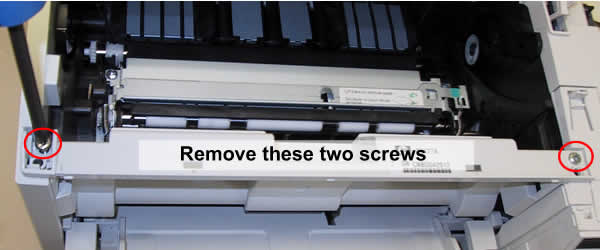
Open the top cover (toner cartridge door), and then open Tray 1. Remove the two screws shown below.
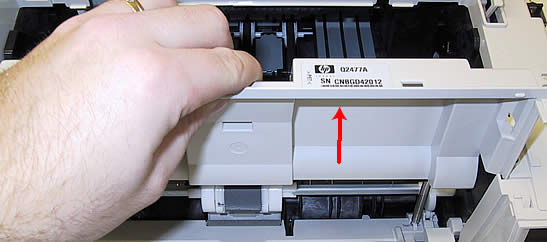
Lift the front cover straight up and away from the printer.
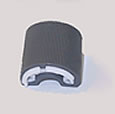
| Lift the front cover straight up and away from the printer. | Slide the cam and the white plastic roller toward the right side of the printer to release the pickup roller. |
 |
 |
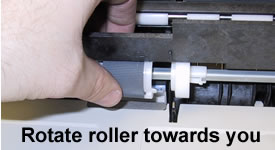
| Rotate the pickup roller on its shaft, rotating it towards you to free the roller | Lift the pickup roller off its metal shaft |
 |
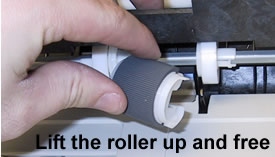 |
NOTE: Proceed to the next step -- do not install the new pickup roller yet. The separation pad must first be removed and replaced.
Other Steps in HP LaserJet 2300
- HP LaserJet 2300 transfer roller installation instructions
- HP LaserJet 2300 Tray 2 Pickup roller installation instructions
- HP LaserJet 2300 fuser installation instructions
- HP LaserJet 2300 Tray 1 Pickup roller installation instructions
- HP LaserJet 2300 Tray 1 Separation pad installation instructions
- HP LaserJet 2300 Tray 2 Separation pad installation instructions
- HP LaserJet 2300 reset the maintenance count
Tech Support
Featured Articles

