
-
Home

-
Maintenance Kit Instructions
-
HP LaserJet 4100
- HP LaserJet 4100 Tray 1 separation pad installation instructions
HP LaserJet 4100 Tray 1 separation pad installation instructions

Installing the Tray 1 separation pad.
At this point you should have the Tray 1 pickup roller removed. If not, return to the previous step for instructions on removing the pickup roller.
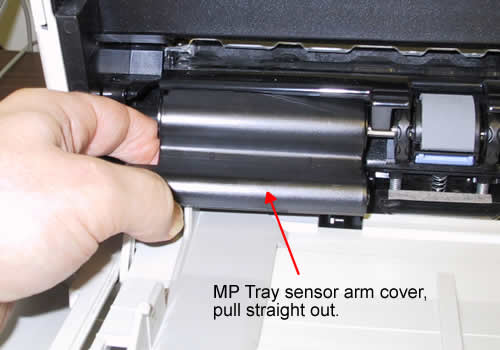
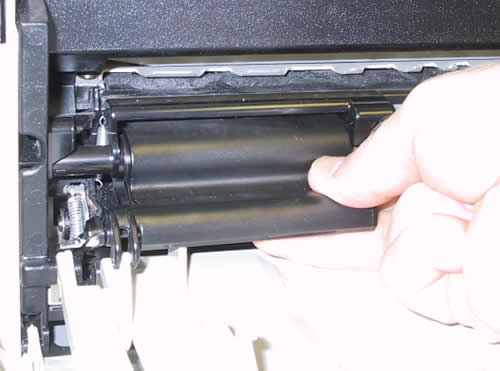
Next remove the Tray 1 sensor arm cover as shown below (your sensor arm cover may be white in color rather than black as in the picture). Be careful to pull straight out. You might need to use a little more force than you think to pull this out. It snaps out on the left and right.
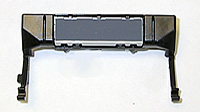
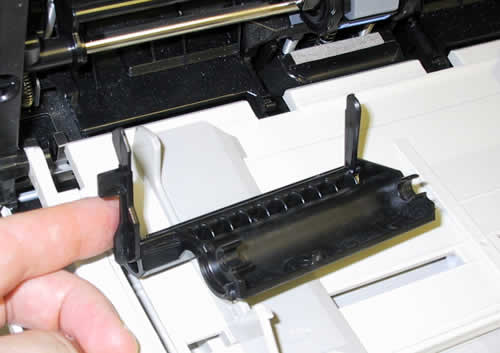
Below is a picture of the sensor cover with the two sensor flags pointing up. Keep the sensor cover attached to the tray.
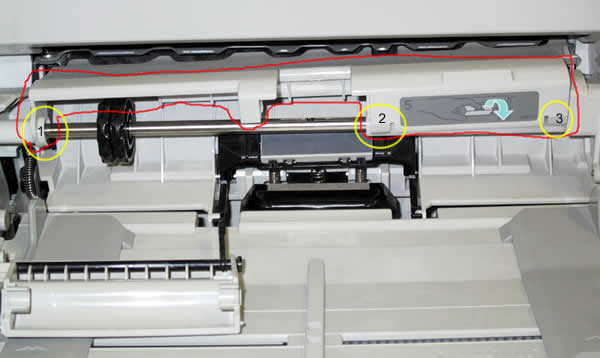
Next the plastic piece circled in red below needs to be unclipped. Simply pull up at the three points circled in yellow where the plastic piece snaps onto the shaft. Also, press down on the separation pad to clear the path, and slide both black discs all the way to the left.
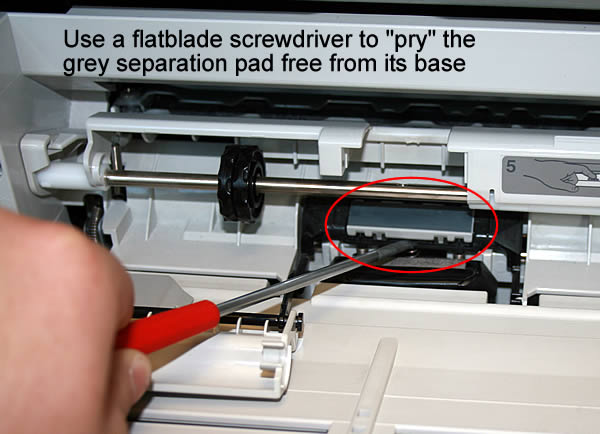
Take a small flat head screwdriver and pry free the old grey separation pad circled below. Remove it from the black plastic base.
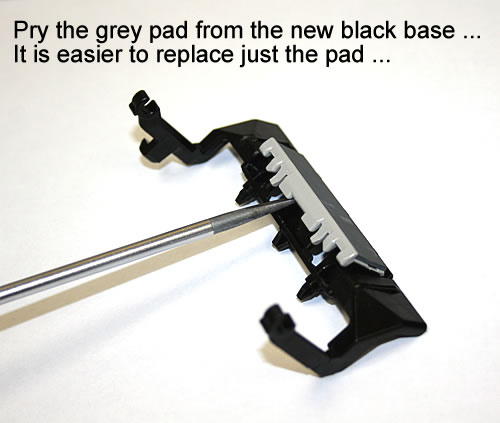
Also pry the same grey pad free from the new separation pad assembly. You will replace the pad only.
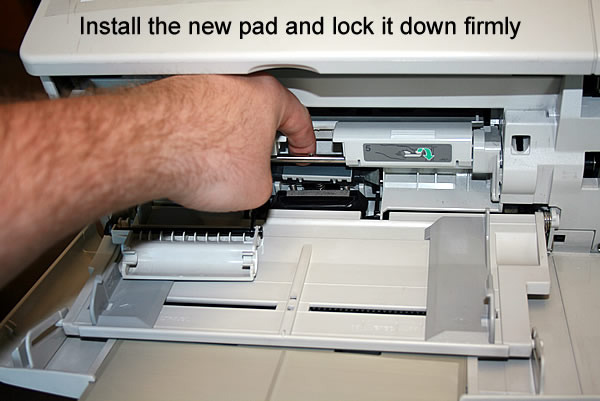
Insert the new grey pad (teeth of the pad pointing down) and lock it down firmly onto the black plastic assembly.
Other Steps in HP LaserJet 4100
- HP LaserJet 4100 fuser installation instructions
- HP LaserJet 4100 transfer roller installation instructions
- HP LaserJet 4100 Tray 1 pickup roller installation instructions
- HP LaserJet 4100 Tray 1 separation pad installation instructions
- HP LaserJet 4100 feed and separation roller installation instructions
- HP LaserJet 4100 D-shaped pickup rollers installation instructions
- HP LaserJet 4100 reset maintenance count instructions
Tech Support
Featured Articles

