
-
Home

-
Other instructions
-
Replacing Formatter Assemblies HP LaserJet printers
- Replacing the Formatter HP Color LaserJet 4700 4700n 4700dn
Replacing the Formatter HP Color LaserJet 4700 4700n 4700dn
The formatter board on the HP Color LaserJet 4700 series printers is usually considered a stable part, but occasionally we will see one of these printers needing a replacement formatter.
Signs that you need to replace this formatter board can include: repeated network connection loss, hanging on print jobs, failure to boot to Ready, '49' errors or 'RFU Disk Load' errors. Call us with any questions at 866-352-7108.
Fortunately, replacing the formatter is not considered a difficult procedure. Scroll down to view installation instructions for this formatter.
|
|
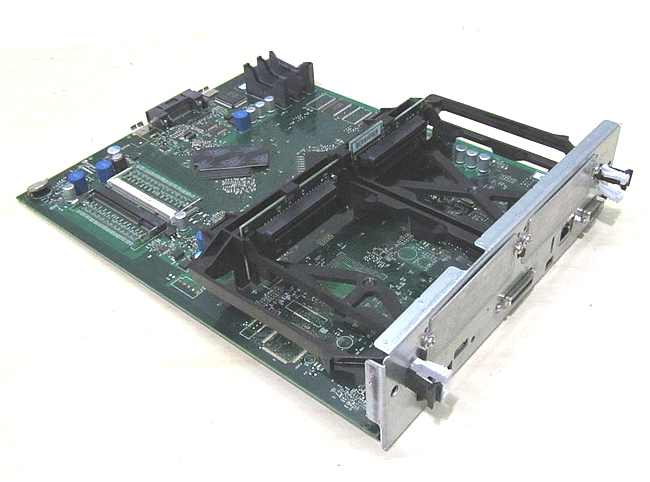
HP Color LaserJet 4700n 4700dn series formatter assembly |

How To Replace the Formatter Board Assembly HP Color LaserJet 4700 4700n 4700dn series printers
1. Turn the printer off, and disconnect the data cables from the formatter assembly.
2. At the rear of the printer, grasp the black tabs located near the top and bottom of the formatter board.
3. Move the black tabs toward each other, and gently pull the formatter board out from the printer.
4. Handle the new formatter gently. Lay it on a flat clean surface.
5. Next you will transfer any Flash memory over from your old board to your new formatter. Install them in the same order as they were installed on your old machine. (Particularly watch the Flash chip, which has the firmware. Install that in the CompactFlash slot labeled "Firmware".)
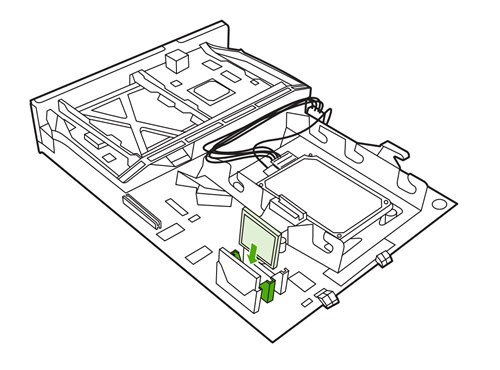
6. Finally you will transfer over any DDR DIMM memory from your old formatter to your new formatter. To remove the DDR DIMM memory, spread the little latches apart on each side of the DIMM slot, lift the DDR DIMM upwards at an angle, and pull it out of the slot.
7. Notice the alignment notch (circled in picture below) which will help when installing the DIMM onto the new formatter. Handle the DIMM by its edges, align the notch on the DIMM and insert the DIMM at an angle into the similar slot on the new formatter.
8. Firmly press the DIMM into the slot. When installed correctly, the metal DIMM contacts will not be visible and the DIMM will "lock" into place.
8. Align the new formatter board into the guide tracks at the top and bottom o fthe slot, and then slide the board back into the printer until it locks in place.
That's it for installing the new formatter!
Tech Support
Featured Articles

