
-
Home

-
Troubleshooting
- "Load Executive" message on LaserJet 4000, 4050 series
"Load Executive" message on LaserJet 4000, 4050 series
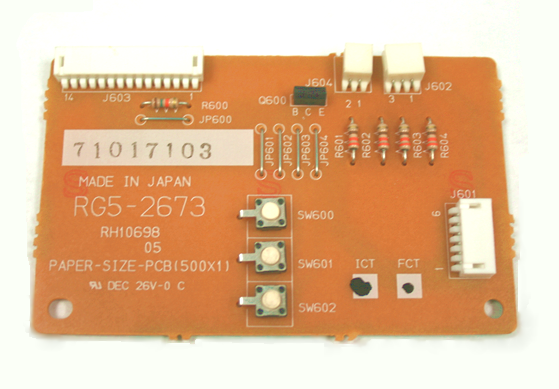
If you are using Letter or Legal size paper but you consistently see the message "Load Executive" on your LaserJet 4000 or 4050 series printer, the feeder control PCA is probably starting to fail. This is a common problem on this family of printers as they get older.
Before replacing the feeder control PCA, first double-check the manual paper size settings in your tray. Make sure the adjustors are set correctly to the size paper you are using. Assuming the paper size settings are correct, then proceed to replace the feeder control PCA.
On single tray printers (LaserJet 4000 or 4050) replacing the feeder control PCA is quite easy. However, on double-tray printers (LaserJet 4000T or 4050T series) the replacement is a very involved process; so if you have a double-tray model we usually recommend you have a technician install this part, or consider replacing the printer. We carry refurbished HP LaserJet 4000T and 4050T series printers; click here to view our inventory of refurbished printers.
Click here to order the part for a single tray model printer from our Web store.
See below for installation instructions.
Replacing the feeder control PCA on LaserJet 4000, 4000N, 4050, 4050N
The following replacement procedure applies for a LaserJet 4000, 4000N, 4050, or 4050N (the single tray models).
It does not apply to a LaserJet 4000T, 4000TN, 4050TN, or 4050TN. That replacement is much more involved and we would recommend you have a service technician install the part on those models, or consider replacing the printer.
Step 1. Remove the paper tray from the printer.
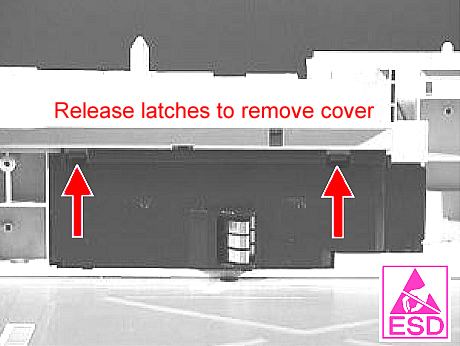
Step 2. From the front, look into the printer cavity, near the back on the right hand side you will find the black plastic cover which shields the feeder control PCA.
Step. 3 Release the latches (small tabs) on that black plastic cover as shown below, and remove the cover.
Step. 4 Looking at the feeder control PCA, unplug 3 connectors circled below. Next, unclip the left side of the PCA and remove it.
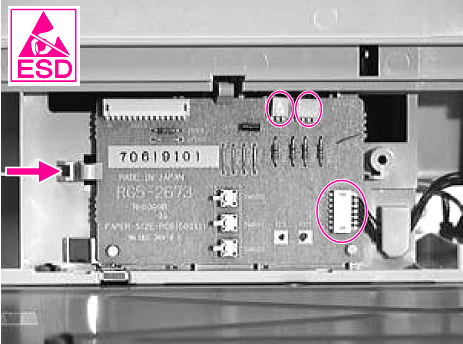
Step. 5 Install the new PCA in reverse order, clip it in place, replug the connectors, re-install the black cover, and re-install the paper tray.
Tech Support
Featured Articles

