HP Color LaserJet 4700 , 4730mfp cassette feed roller, separation roller, pickup roller installation instructions
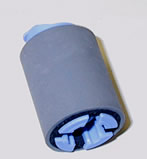
Installing the cassette separation roller.
Slide the paper tray out. As you try to remove the tray, it will "catch" ; once it stops, lift up on the tray, pull slightly forward and then lower the tray to free it from the "catch." Remove the tray completely from the machine.
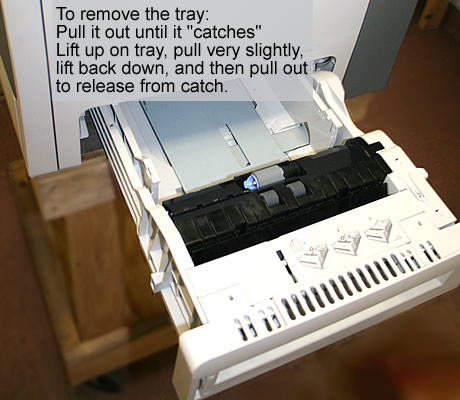
On the paper tray, open the black plastic hinged cover which "shields" access to the separation roller.

Remove & replace the separation roller: pinch the roller's small blue tab, and slide the roller off the shaft to its left.
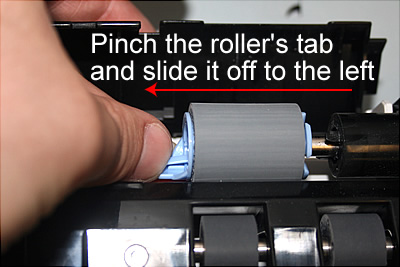
Install the new separation roller; slide it onto the shaft, make sure it clicks into place by orienting it so that the roller lines up with the tabs on the black plastic device (torque delimiter) sitting on the shaft to the right.
Installing the cassette pickup and feed rollers.
 |
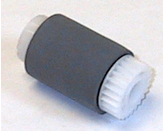 |
Inside the printer, at the top of the printer tray cavity, there are 2 more rollers, a white/grey pickup roller and a blue/grey feed roller. Release each roller by pinching the small retaining tab on the roller and sliding each roller free from the shaft. See picture below.
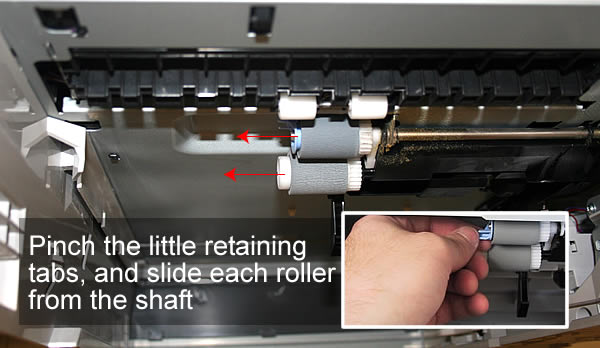
Slide the new rollers onto their shafts until they lock in place.
Other Steps in HP LaserJet 4700, 4730mfp
- HP Color LaserJet 4700 4730mfp fuser installation instructions
- HP Color LaserJet 4700 manual feed parts installation instructions
- HP Color LaserJet 4700 cassette roller installation instructions
- HP Color LaserJet 4700 reset fuser page count instructions


