HP Color LaserJet CP3505 cassette tray separation pad and pickup roller installation instructions
 |
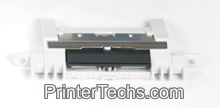 |
Remove the paper tray, then remove the two screws that secure the separation pad (circled in red below)
Lift the separation pad straight up and away .
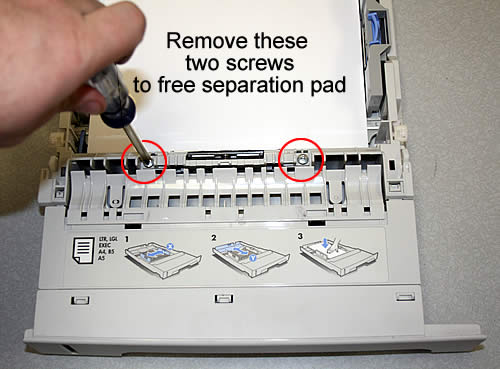
Install the new separation pad in its place and replace the screws.
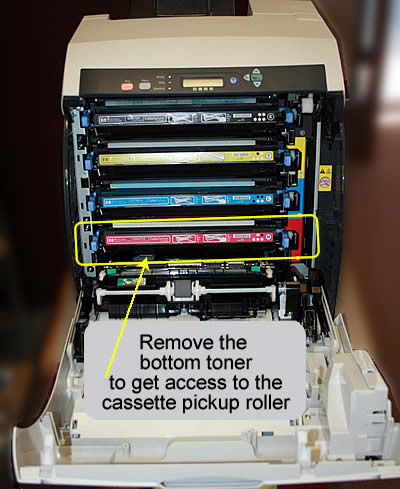
Next, remove the bottom toner cartridge to get access to the cassette pickup roller.
With the toner cartridge removed, lift the hinged small black plastic cover to access the cassette pickup roller.
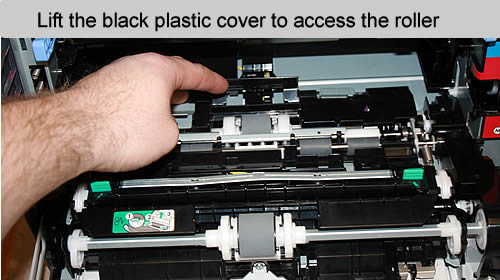
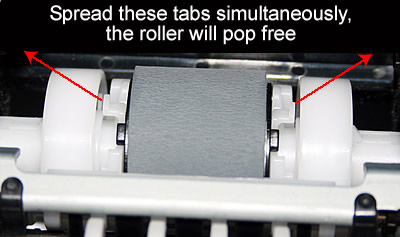
Spread the tabs on the pickup roller simulatenously -- the roller will pop free.
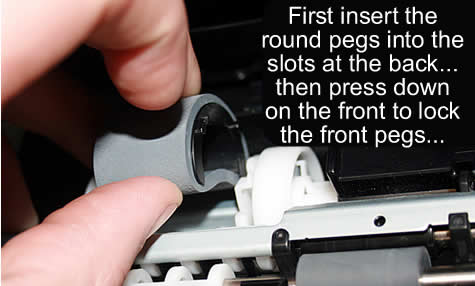
Install the new pickup roller. In this case, the round pegs go slide into the slots at the back of the roller holder. Then press down on the front of the roller to snap and lock the front pegs in place.
Other Steps in HP LaserJet CP3505
- HP Color LaserJet CP3505 fuser installation instructions
- HP Color LaserJet CP3505 manual feed separation pad and pickup roller installation instructions
- HP Color LaserJet CP3505 cassette separation pad and pickup roller installation instructions


