
-
Home

-
Maintenance Kit Instructions
-
HP LaserJet P4014, P4015, P4515
- HP LaserJet P4014 , P4015 fuser installation instructions
HP LaserJet P4014 , P4015 fuser installation instructions

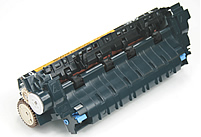
Installing the fuser.
Turn the printer off and unplug the power cord. The fuser might be hot if you have been using the printer. As a safety precaution wait 30 minutes for the fuser to cool before proceeding.
If a duplexer is installed, remove it from the back of the printer.
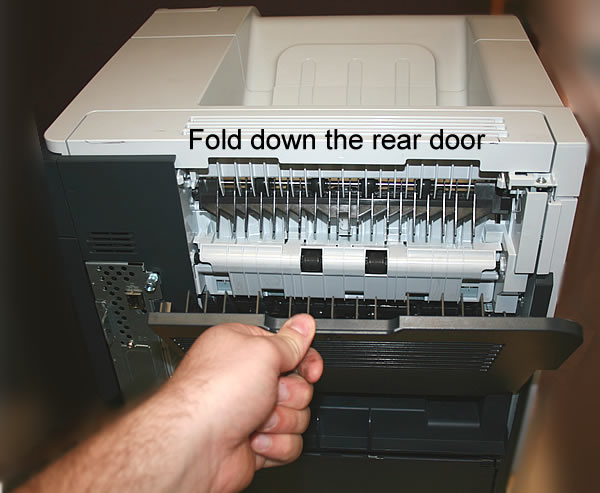
Next fold down the rear door.
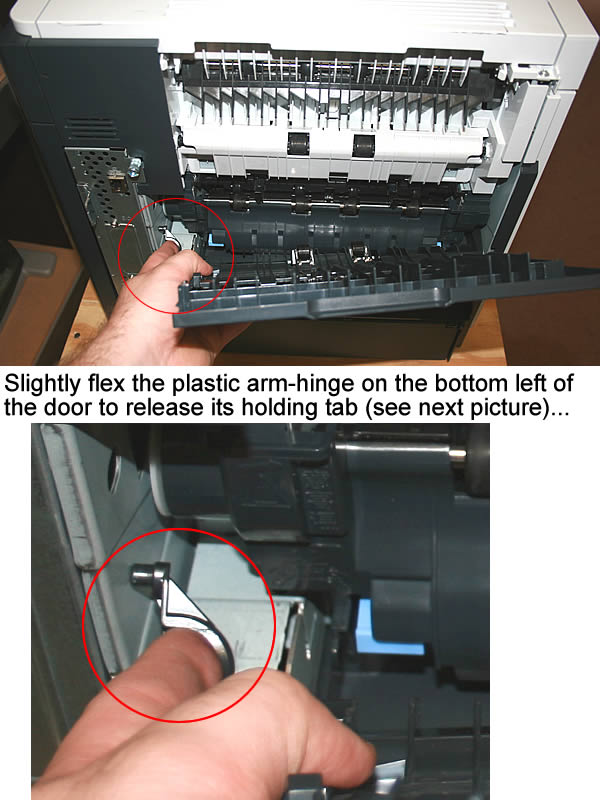
Flex the plastic arm-hinge (circled in red below) on the left bottom of the door . This will release the tab which holds the plastic arm in place, and will free the door.
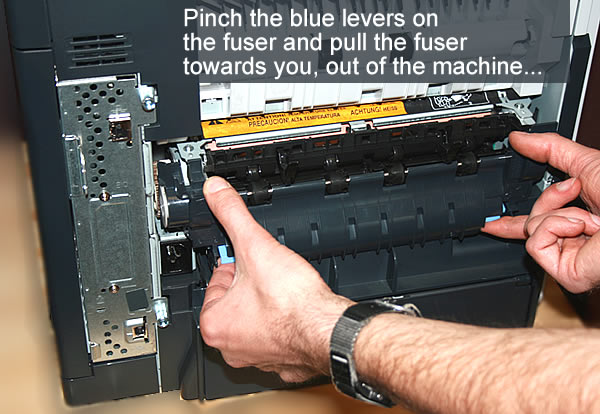
While grasping onto both sides of the fuser, push the blue levers upward and pull the fuser straight out.
Install the replacement fuser by inserting it and aligning the left side first. Push the fuser firmly--listen for the sound of both blue levers clicking into place. If the fuser does not click into place you run the risk of wearing out both the fuser and the gears that drive the fuser prematurely. Re-install the plastic rear output bin. Remember to send your old fuser back to us if you purchased your maintenance kit on exchange. Ship it back in the box we sent if you still have it.
There are 3 fuser drive gears which are not included with a standard maintenance kit. These gears sit in a cluster behind the fuser, at the back of the printer. If you replace the P4014/P4015/P4515 series fuser and you hear loud noises, you probably need to replace these gears. The new gears on the fuser may not mesh well with the worn gears in your printer.
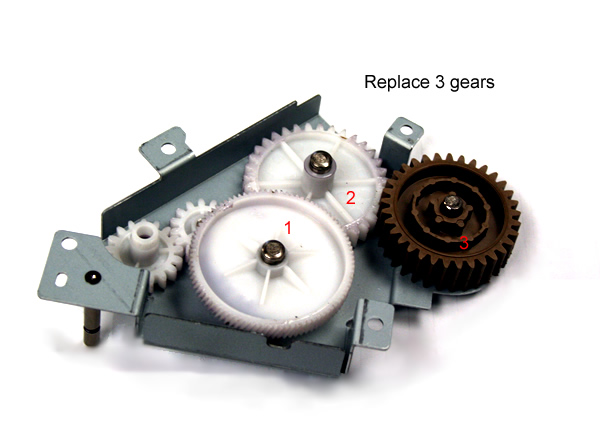
This gear noise is a fairly common problem on the LaserJet P4014,P4015,P4515 series printers.
Replacing the gears is considered an advanced procedure.
Click here for more information on ordering/installing the set of 3 gears -- or you can call us toll-free 866-352-7108 or local 608-831-2396.
Other Steps in HP LaserJet P4014 , P4015, P4515
- HP LaserJet P4014 , P4015 fuser installation instructions
- HP LaserJet P4014 , P4015 transfer roller installation instructions
- HP LaserJet P4014 , P4015 cassette rollers installation instructions
- HP LaserJet P4014 , P4015 Reset the maintenance count instructions
- HP LaserJet P4014 , P4015 Tray 1 pickup and feed roller installation instructions
Tech Support
Featured Articles

