HP LaserJet P4014 , P4015 cassette rollers installation instructions
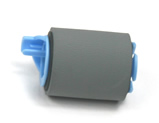
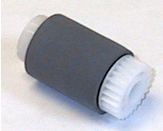
Installing the cassette rollers: feed roller, separation roller, and pickup roller
| Feed roller | Separation roller | Pickup roller |
|
|
 |
 |
Replacing the separation roller.
Pull the cassette tray out from the printer.
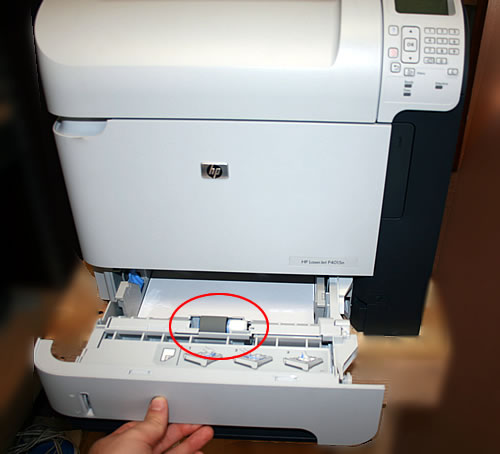
Lift open the hinged plastic guide (first picture below) so that you can access the roller.
In the second picture below, you will see how to pinch this roller's tab, and then slide the roller to the left, freeing it from the shaft.
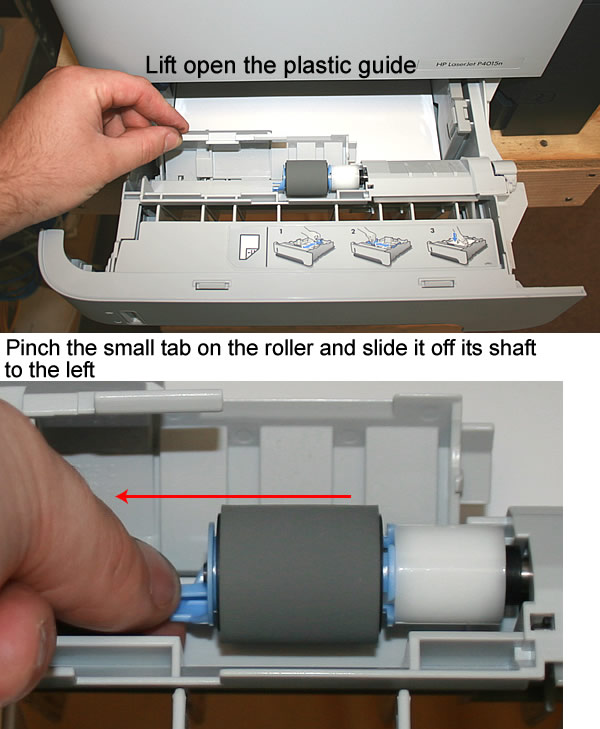
Next install the new feed roller onto the shaft, making sure it locks into place on the shaft.
Replacing the feed roller and pickup roller.
With the paper tray completely out of the machine, look up into the printer cavity. Locate these two roller on the roof of the cavity.
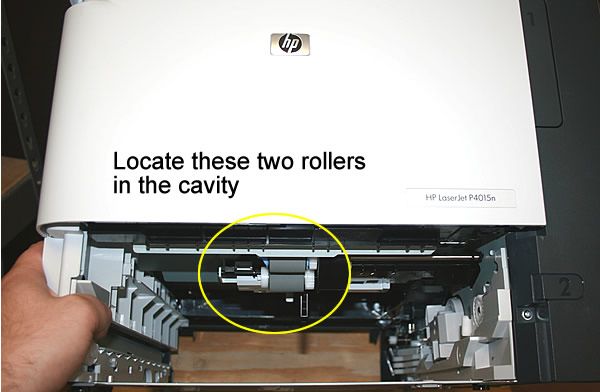
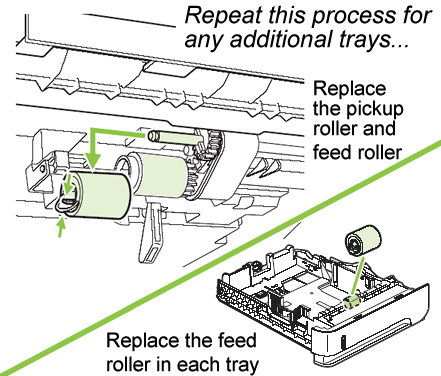
Pinch the tabs on these rollers and slide them off their shafts. Install the replacement rollers -- the blue-grey feed roller goes on the front shaft, the white-grey pickup roller goes on the rear shaft.
If you have any optional cassettes on the machine, repeat the same process as above for replacing the rollers on those trays.
Other Steps in HP LaserJet P4014 , P4015, P4515
- HP LaserJet P4014 , P4015 fuser installation instructions
- HP LaserJet P4014 , P4015 transfer roller installation instructions
- HP LaserJet P4014 , P4015 cassette rollers installation instructions
- HP LaserJet P4014 , P4015 Reset the maintenance count instructions
- HP LaserJet P4014 , P4015 Tray 1 pickup and feed roller installation instructions


