
-
Home

-
Other instructions
-
Replacing the Swing Plate Assembly - Long Method
- Removing the panels and formatter
Step 2: Removing the panels and formatter
Remove the panels:
Getting access to the black gear:
First, turn your printer off and unplug it. Facing the back of the printer, you need to remove the hinged back cover. Press inward on each hinge tab to release the tabs and free the back cover.
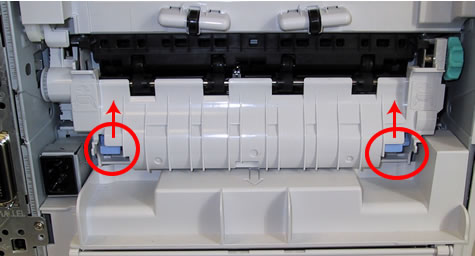
Press upwards on the blue levers located on each side of the fuser and simultaneously pull the fuser towards you to remove the fuser.
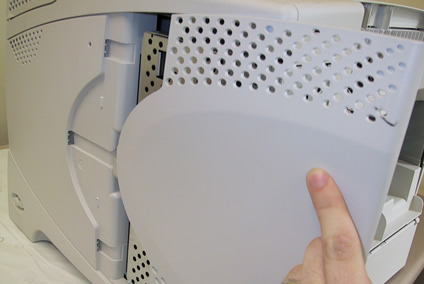
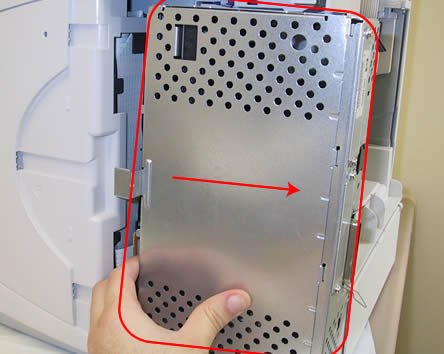
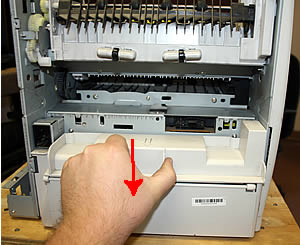
Remove the formatter cover panel by grasping the panel firmly and sliding it free towards the back of the printer.
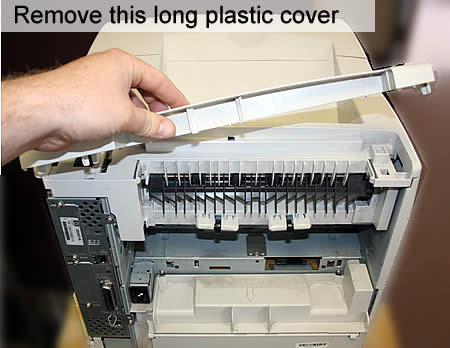
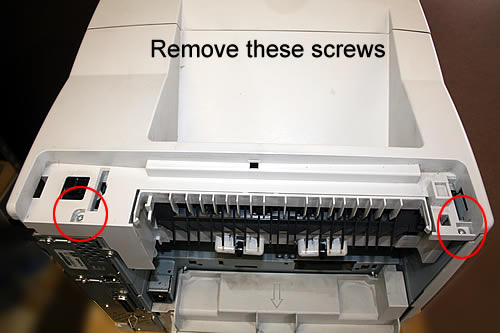
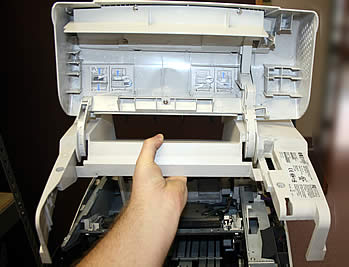
Remove the long plastic cover pictured below (if installed) from the back top cover of your printer.
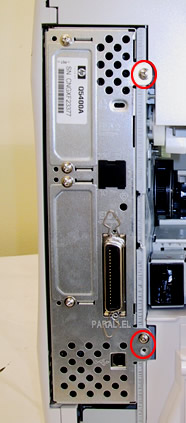
Remove the 2 screws shown below.
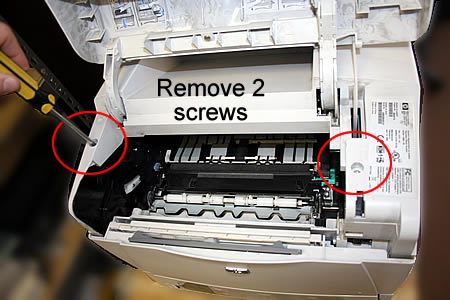
Next, open the toner lid door at the front of the printer, and remove the 2 screws.
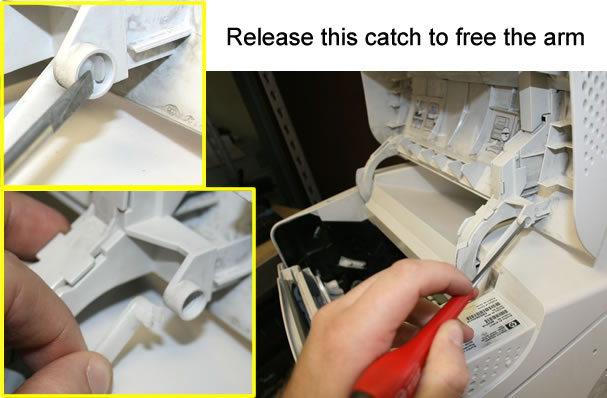
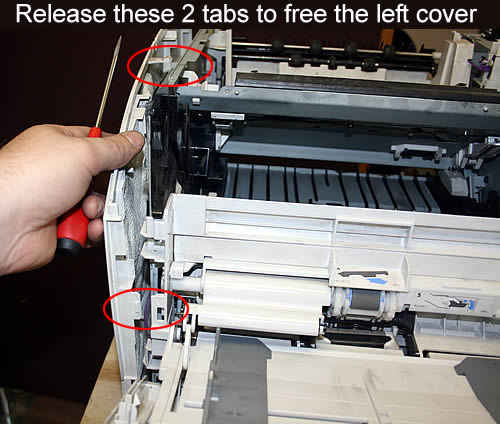
Next, use a flat blade screwdriver to release this plastic "arm" as shown below.
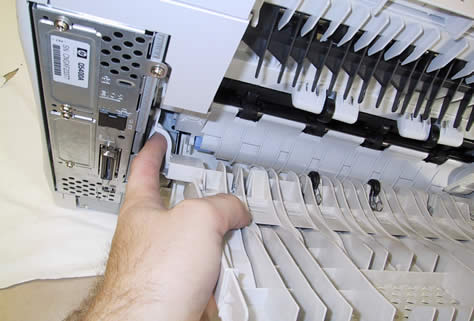
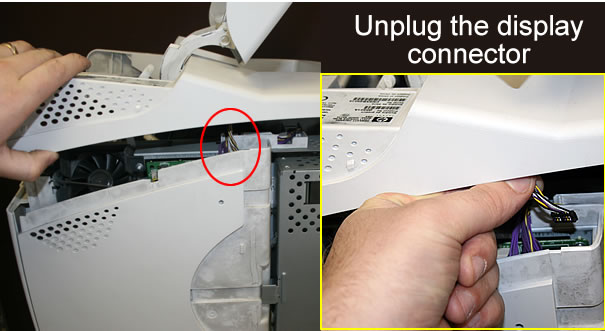
Before removing the top cover, you will need to unplug the display connector. Reach under the top cover, on the right side of the machine, and unplug that single connector from the engine controller board as pictured below.
Now you can lift the top cover up and free.
Remove the screws circled below left, which hold the formatter in place. Then remove the formatter by sliding the formatter towards the back of the printer, as shown below right.
 |
 |
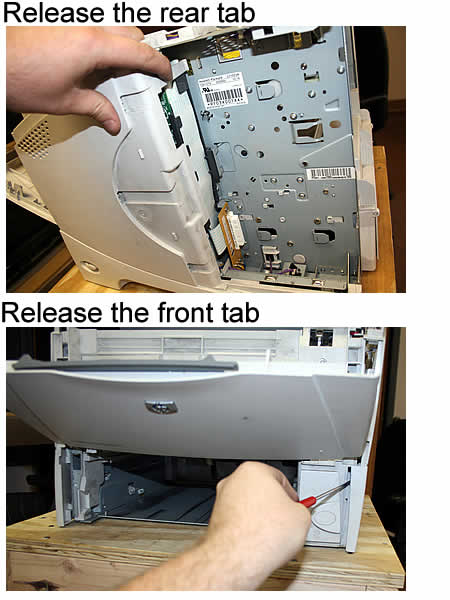
Remove the Right Side Panel by releasing the tabs at the rear and front of the panel, as shown in the pictures below.
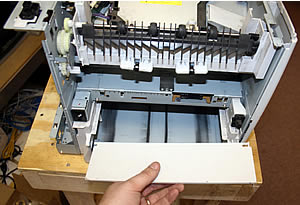
| Remove the duplexer assembly cover if installed (pull straight out). | Remove the paper tray dust cover (if installed) . | |
 |
 |
Other Steps in Replacing the Swing Plate Assembly - Long Method
Tech Support
Featured Articles

