Remove the fuser HP Color LaserJet CM2320
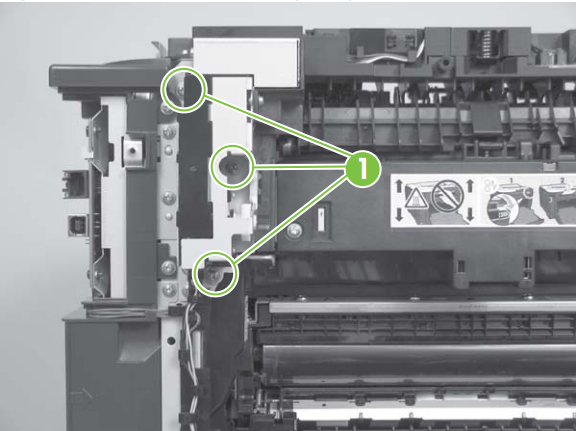
Remove 3 screws (see callout 1 in picture below) and separate the duplex reverse-drive assembly from the printer. Carefully set the assembly out of the way; it will still be attached to the printer, just loose.
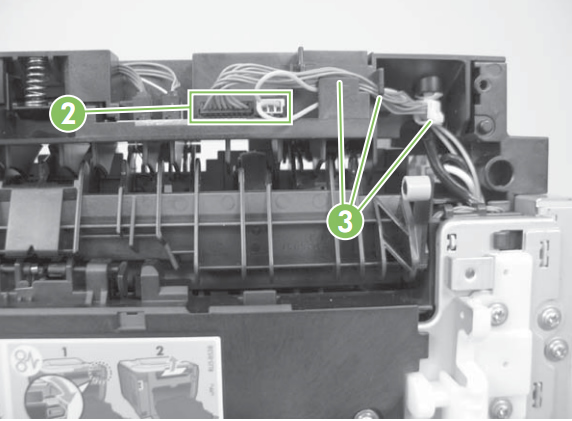
Disconnect 2 connectors (see callout 2 in picture below) and then release the wire harnesses from the guide (see callout 3 below). Notice how these wire harnesses are routed so you can remember and re-route them again whenever you reinstall the upper cover.
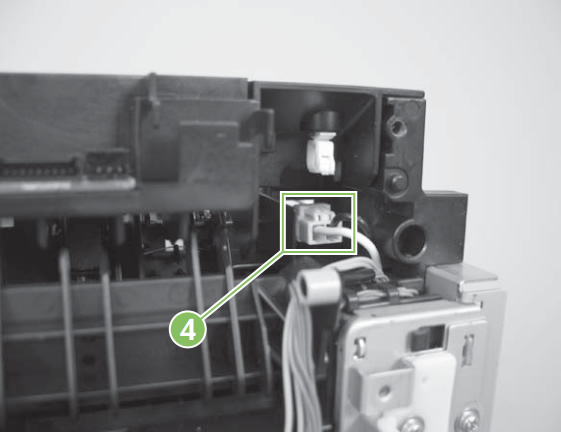
Disconnect 1 connector (see callout 4 below).
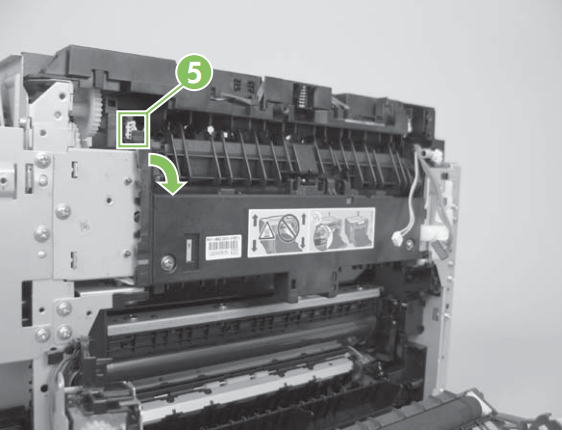
Carefully disconnect 1 connector (see picture below) and gently rotate the connector and the top portion of the plastic guide away from the frame of the printer (also see second picture below). You don't have to force it too much, just pry it back gently as shown below. It is fragile plastic so handle with care and don't pry it back too far.
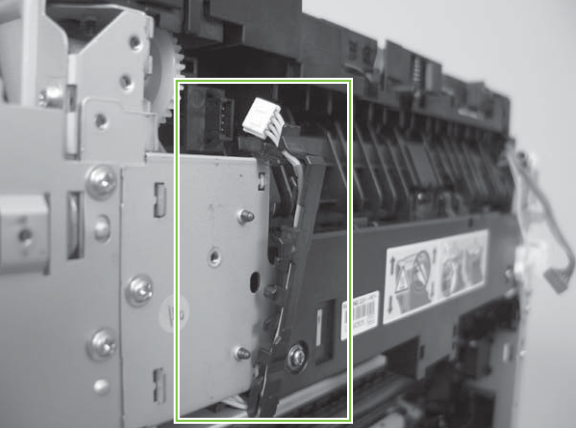
Next remove 2 screws as shown in callout 6 below.
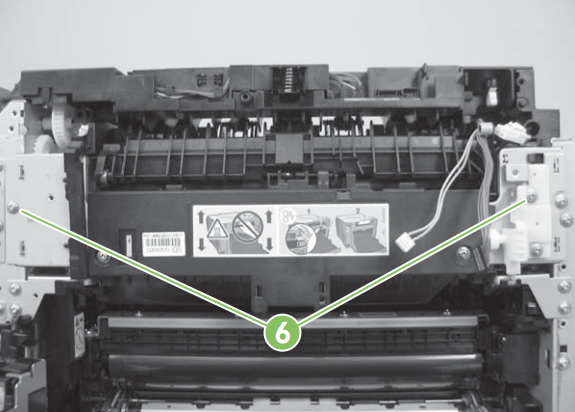
Now you can remove the fuser from the machine.
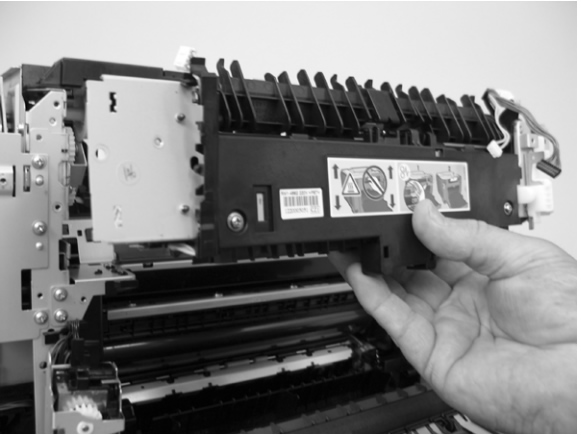
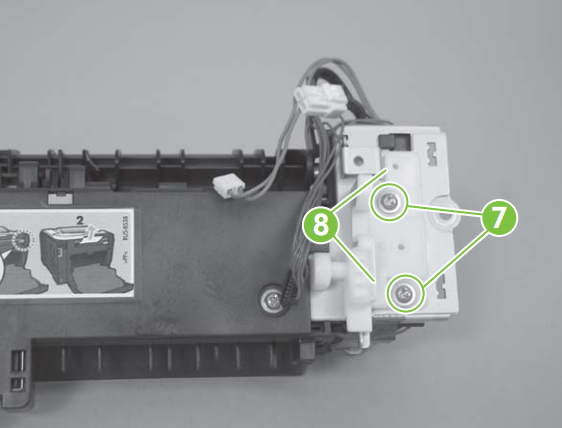
If you have a duplex model (CM2320fxi), you need to transfer the duplex-gear assembly from your old fuser to your new fuser. Remove the 2 screws shown in callout 7 below, and remove the duplex-gear assembly (callout 8 below). Install this assembly on your replacement fuser.
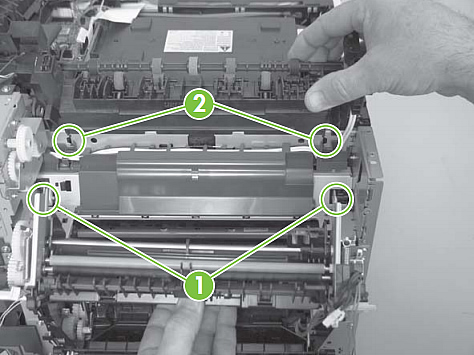
When you install the new fuser, you must insert the tabs (see callout 1 of picture below) on the fuser frame into the corresponding slots on the printer chassis (callout 2). The fuser frame must be flush against the printer chassis before you install the 2 fuser mounting screws. Do not use the screws to pull the fuser frame against the chassis.
Continue installing the fuser and reassembling the printer in reverse order of the previous steps.
That's it for the fuser! Remember to send your old fuser back to us if you purchased your maintenance kit on exchange. Ship it back in the box we sent if you still have it.
Other Steps in HP LaserJet CM2320
- Removing the Covers LaserJet CM2320
- Remove the Fuser LaserJet CM2320


