HP LaserJet M806 M830 fuser installation instructions
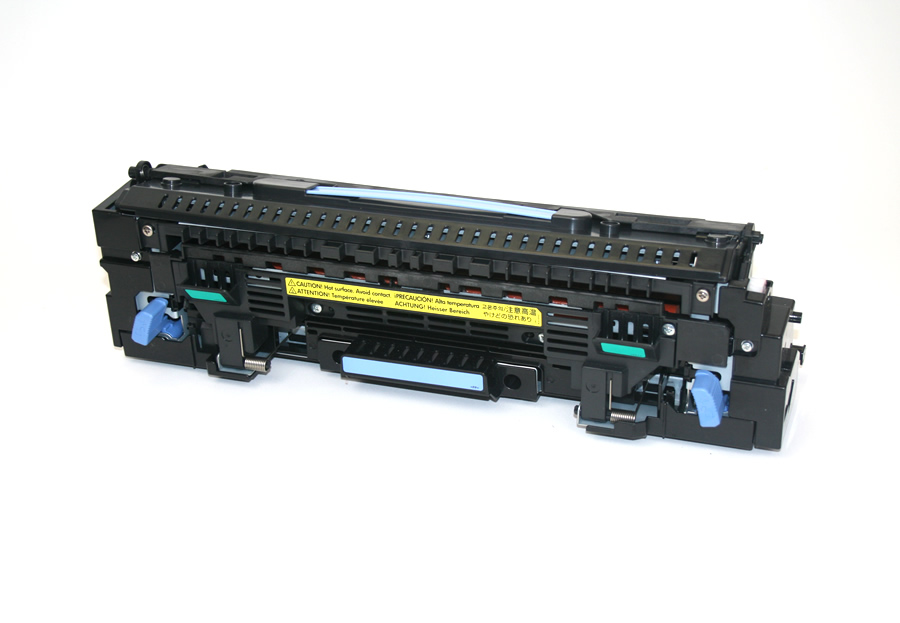
Installing the fuser.
Turn the printer off and unplug the power cord. The fuser might be hot if you have been using the printer. As a safety precaution wait 20 minutes for the fuser to cool before proceeding.
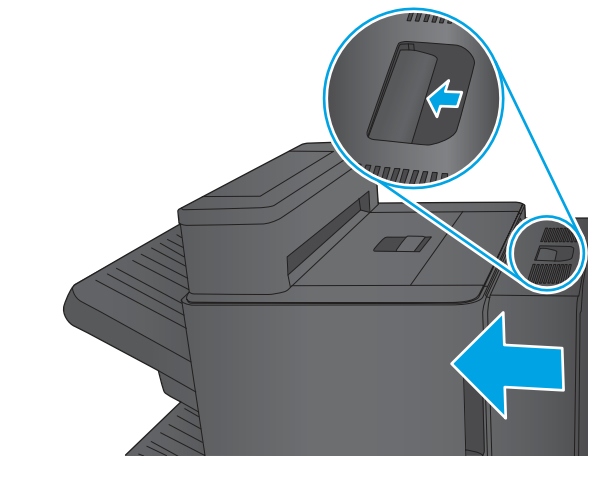
If you have a finishing accessory attached to this printer (some do, some don't, it's an optional accessory) release the handle circled in the drawing below, and slide the finisher away from the printer.
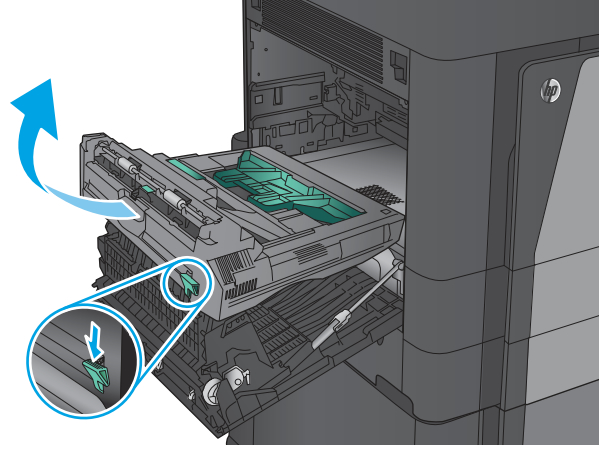
Open the left side door, and if you have a duplexer installed, press down on the green tab to release the duplexer. (See picture below). Slide the duplexer out of printer through the left door, and lift it up and away from the printer.
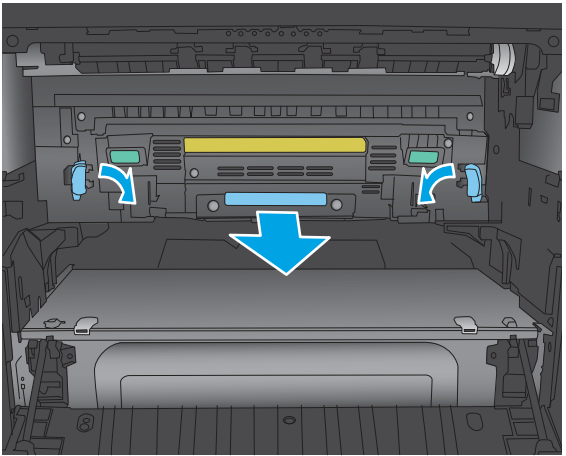
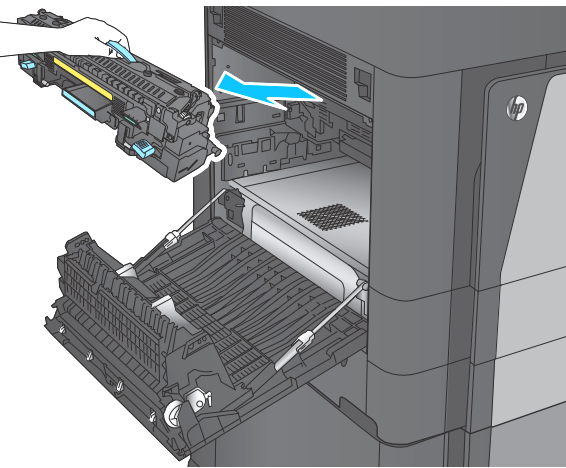
Now you can remove the fuser assembly. Release two latches into the down position, and the slide the fuser out through the left door. Grasp the fuser by the handle to lift it out of the printer. See pictures below.
Install the new fuser in the same manner; make sure it is seated well and lock the blue tabs. Reinstall the duplexer, and close the door. Reattach any finishing accessory you had installed.
The maintenance counter is automatically reset by the fuser after 100 pages are printed.
The fuser has a fusible link in it that is designed to open after 100 pages are printed, and open link resets the counter.
HP has designed it so that the maintenance counter cannot be manually reset via the printer Menus.
That's it for the fuser! Remember to send your old fuser back to us if you purchased your maintenance kit on exchange. Ship it back in the box we sent if you still have it.


