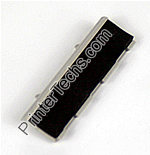
HP Color LaserJet 4600 manual feed separation pad, pickup roller installation instructions
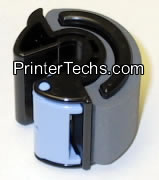
Installing the manual feed separation pad and pickup roller.
|
|
 |
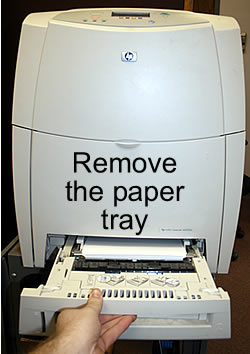
The roller and separation pad for the manual feed pickup are inside the main paper tray.
Remove the paper tray.
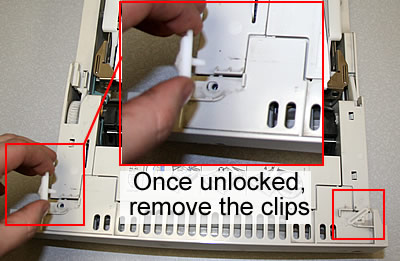
There are two small white plastic locking clips at the front of the paper tray. Twist these small clips to unlock them.
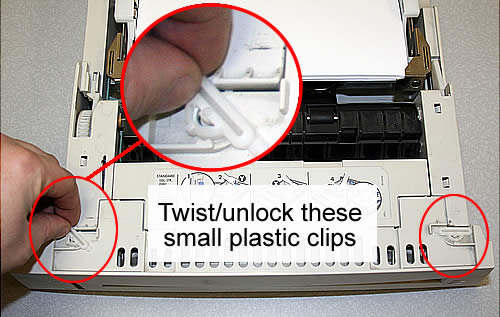
When both plastic clips are unlocked, lift them up to remove them.
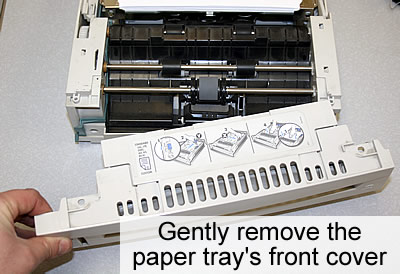
Now you will be able to gently remove the paper tray's front cover.
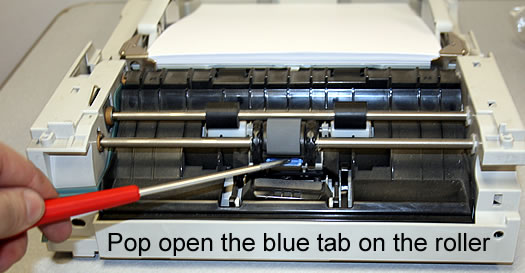
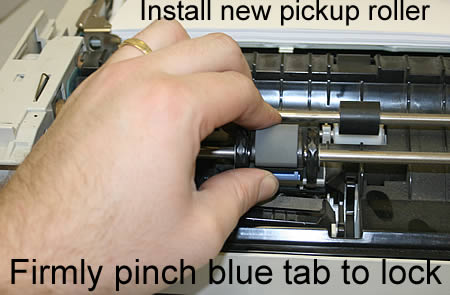
Next take a small flat head screwdriver or your fingernail and pop open the blue tab on the pick-up roller.
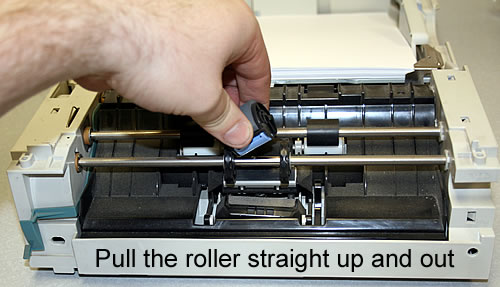
Then pull the roller straight up and out.
Use a flat blade screwdriver to pry up the separation pad and remove it.
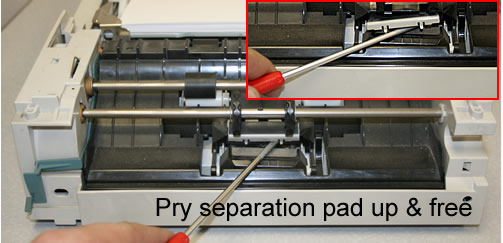
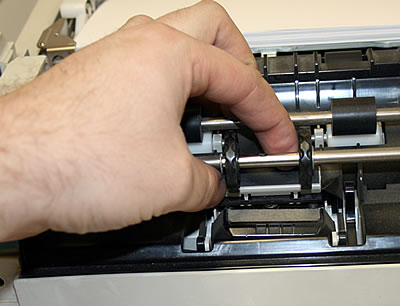
Install the new separation pad, press down firmly on both sides of the pad to lock it down in place.
Install the new pickup roller onto the shaft, the firmly pinch the blue tab to lock the roller onto the shaft.
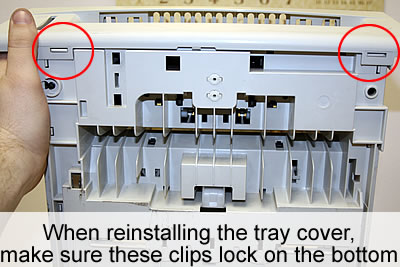
Replace the tray cover, as you do so make sure the clips on the bottom lock in place. Reinstall the plastic locking clips you removed earlier, lock them back in place.
Other Steps in HP LaserJet 4600
- HP Color LaserJet 4600 fuser installation instructions
- HP Color LaserJet 4600 manual feed parts installation instructions
- HP Color LaserJet 4600 cassette roller installation instructions
- HP Color LaserJet 4600 reset fuser page count instructions


