Installing cassette pickup rollers Lexmark T640 T642 T644
1. Pull out the main paper tray and remove it.
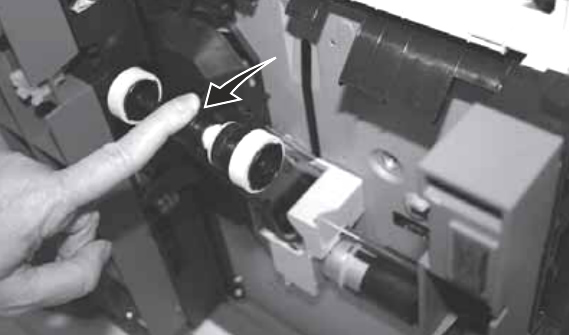
2. Tilt the printer on its back, and locate the pickup roller arm as shown in the picture below. Gently pull this arm down so you will have access to the rollers.

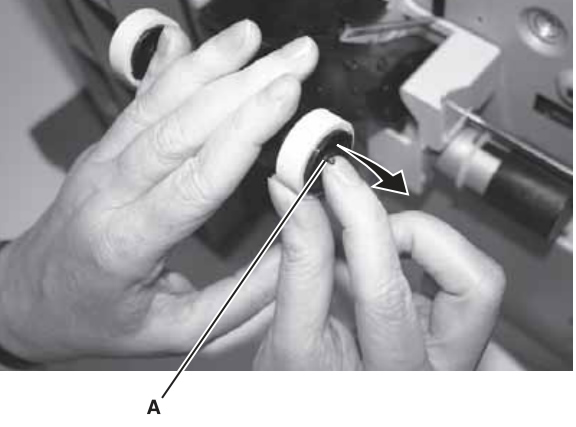
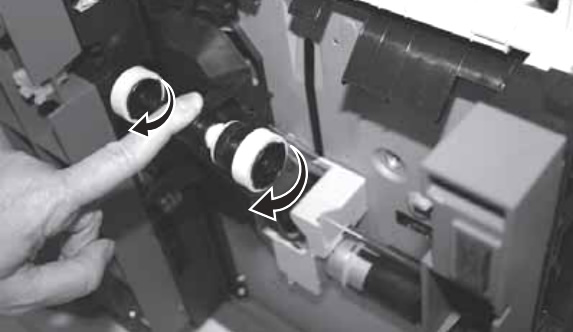
3. There is a small plastic locking tab on each pickup roller, press the tab to release the roller and slide the roller off the arm. Repeat this process for both rollers.

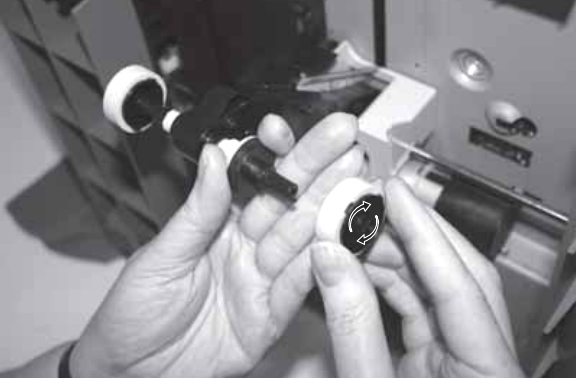
4. Line up the new pickup roller by first locating the recessed area on the pickup roller and aligning that recessed area with the tab on the arm. Also, there are 2 arrows on each pickup roller -- make sure the bottom arrow faces you, as you align the recessed area with the tab.

5. Push the roller onto the arm to secure it in place with the tab correctly aligned. Repeat this for the other pickup roller.

6. If you have extra paper trays installed, the process of replacing pickup rollers is the same for each tray.
Other Steps in Lexmark T640 T642 T644
- Installing the fuser Lexmark T640 T642 T644
- Installing transfer roller Lexmark T640 T642 T644
- Installing charge roller Lexmark T640 T642 T644
- Installing cassette pickup rollers Lexmark T640 T642 T644
- Reset the maintenance counter Lexmark T640 T642 T644


