HP LaserJet M401 transfer roller installation instructions

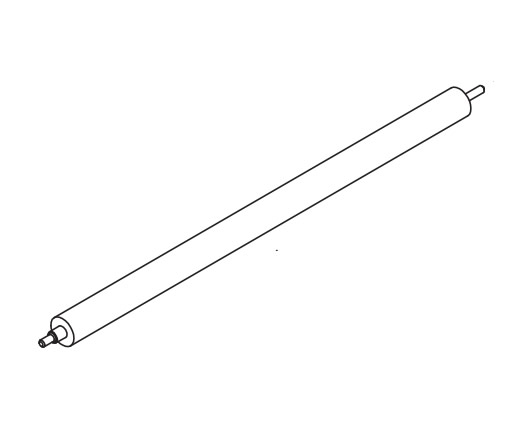
Avoid touching the black surface of the new transfer roller, handle it by the metal tips.
Step 1. Open the toner cartridge door, and remove the toner cartridge.
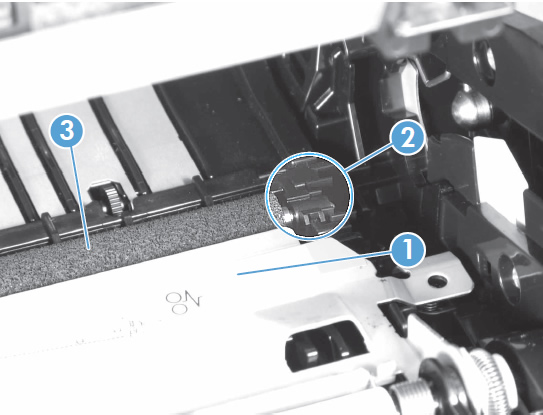
Step 2. See picture below. In the toner cartridge cavity, lift up and hold the hinged metal jam plate (labeled callout 1 in picture below). While holding the metal plate up, release the 2 plastic tabs on the black locking clip / bushing (see callout 2 in picture below). Pull the black plastic bushing up until it is free, and then slide the transfer roller (roller is labeled callout 3 in picture below) up and to the right to remove it.

Step 3. Insert the black plastic bushing onto the shaft of the new transfer roller, then install the left end of the transfer roller first, followed by lowering the right end of the transfer roller and locking down the black plastic bushing. Proceed gently and don't force anything, so you don't break the plastic bushing.
Other Steps in HP LaserJet M401
- HP LaserJet M401 roller kit installation instructions
- HP LaserJet M401 transfer roller installation instructions


