HP LaserJet 2300 Tray 1 separation pad installation instructions
Replacing the Tray 1 separation pad and pickup roller.
Before you install the new pickup roller, the separation pad which sits underneath it must be removed and replaced.
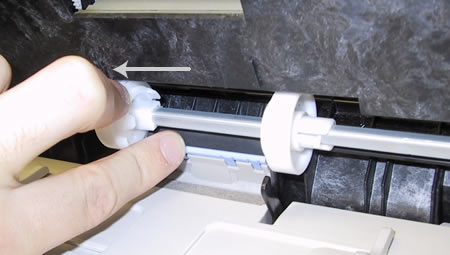
Slide the left white roller as far as it can go to the left, clearing the space over the separation pad.
Use a flathead screwdriver to pry each side of the pad up and loose. Remove the pad.
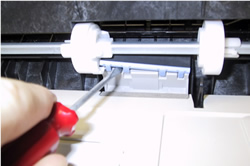 |
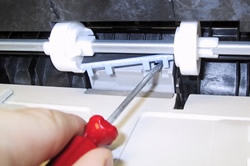 |
Realign the new separation pad.
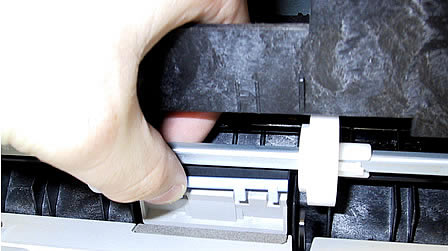
Press firmly (probably takes more force than you think!) and snap both ends of the pad in place.
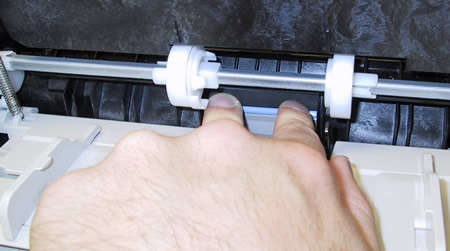
Now you can install the new pickup roller onto the metal shaft.
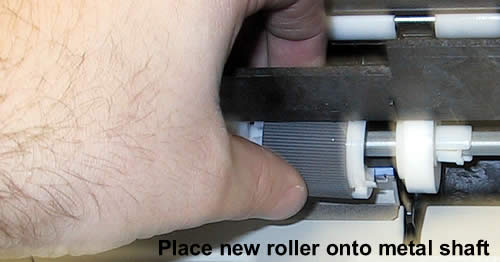
| Slide the right plastic roller (and the cam) back towards the pickup roller. | The cam's support tab will snap in place onto the pickup roller. Slide the left plastic roller back in place also. |
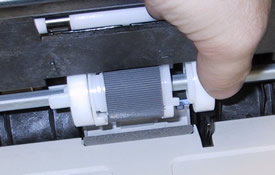 |
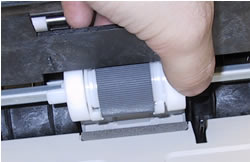 |
Other Steps in HP LaserJet 2300
- HP LaserJet 2300 transfer roller installation instructions
- HP LaserJet 2300 Tray 2 Pickup roller installation instructions
- HP LaserJet 2300 fuser installation instructions
- HP LaserJet 2300 Tray 1 Pickup roller installation instructions
- HP LaserJet 2300 Tray 1 Separation pad installation instructions
- HP LaserJet 2300 Tray 2 Separation pad installation instructions
- HP LaserJet 2300 reset the maintenance count


