HP LaserJet 4000 Tray 1 pickup roller installation instructions
Installing the Tray 1 pickup roller.
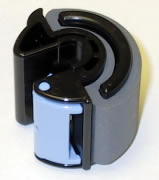
Remove the toner cartridge if it hasn't already been removed. Open Tray 1 (flips down). Remove the plastic piece circled below by pulling straight out.

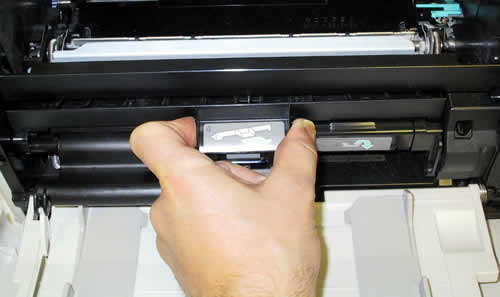
Next remove the Tray 1 sensor arm cover as shown below. Be careful to pull straight out. You might need to use a little more force than you think to pull this out. It snaps out on the left and right.
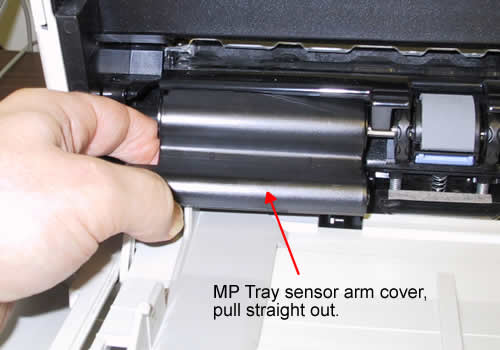
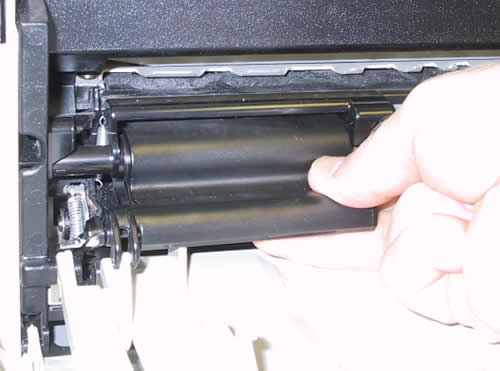
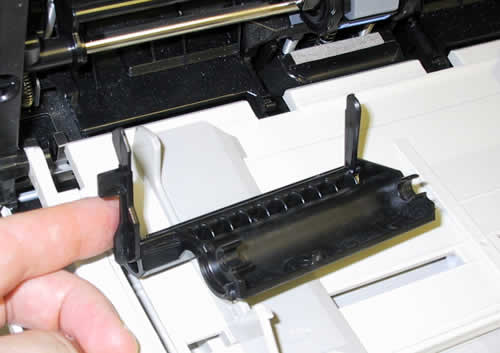
Below is a picture of the sensor cover with the two sensor flags pointing up. Keep the sensor cover attached to the tray.
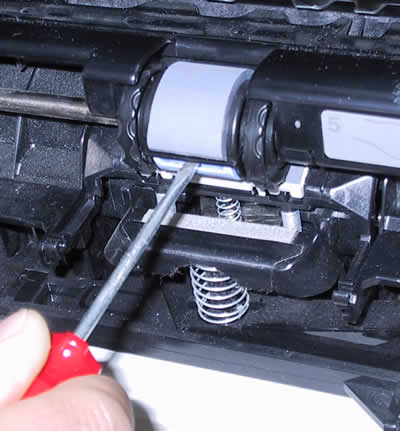
Next take a small flat head screwdriver or your fingernail and pop open the blue tab on the pick-up roller. Then pull the roller straight up and out.
Other Steps in HP LaserJet 4000
- HP LaserJet 4000 fuser installation instructions
- HP LaserJet 4000 transfer roller installation instructions
- HP LaserJet 4000 Tray 1 pickup roller installation instructions
- HP LaserJet 4000 Tray 1 separation pad installation instructions
- HP LaserJet 4000 feed and separation roller installation instructions
- HP LaserJet 4000 D-shaped pickup roller installation instructions
- HP LaserJet 4000 reset maintenance count instructions


