HP Color LaserJet 4550 Changing the air filters
Replacing the air filters.
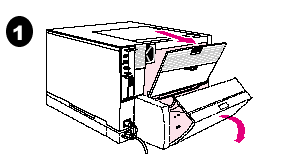
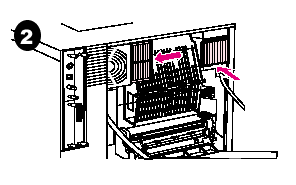
| Step 1 - Before replacing the air filters, be sure the printer has been turned off for at least 10 minutes to allow enough time for the fans to stop running. Unplug the power cord and open the upper rear door of the printer. If the printer has a duplexer unit, open the rear cover of the duplex unit. | Step 2 - Remove the two used air filters from the rear of the printer. Use the yellow hand wipe to clean excess dust away from the fan areas. |
 |
 |
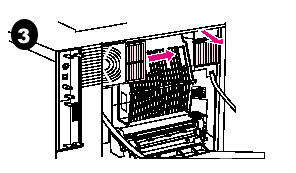
| Step 3 - Squeeze the cover release lever and open the cover. | Step 4 - Reset the maintenance count. |
 |
Step 4 - A. Turn the printer on. Step 4 - B. When the control panel displays "READY", press the [MENU] button until "RESET MENU" appears. Step 4 - C. Press [ITEM] until "NEW FUSER KIT, SELECT IF DONE" appears. Press [SELECT]. Step 4 - D. Press [GO] to return the printer to "READY." |
Other Steps in HP LaserJet 4550
- HP LaserJet 4550 fuser installation instructions
- HP LaserJet 4550 cassette rollers installation instructions
- HP LaserJet 4550 changing the air filters instructions


