HP LaserJet 8100 , 8150 Cassette pickup roller , feed roller, and separation roller installation instructions
Installing the Cassette pickup roller and feed / separation rollers
  |
 |
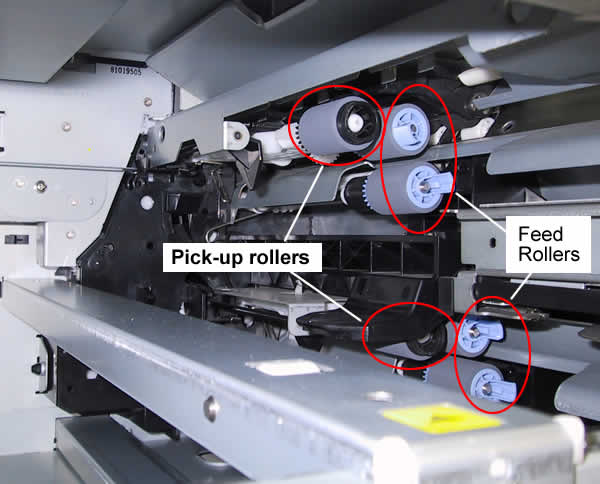
For trays 2 and 3, there is one pick-up roller and two feed rollers.
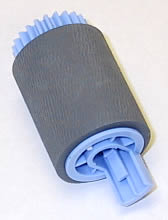
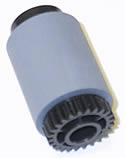
Remove both lower trays (tray 2 and 3). Remove the rollers by pinching the tabs on the end of the roller and sliding the roller off of the shaft. Install the new rollers and put the trays back in the printer.

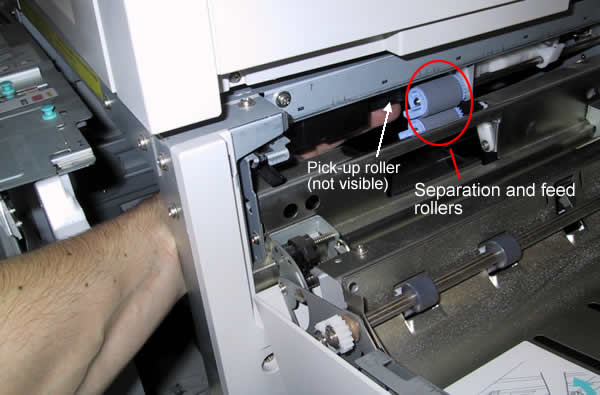
If you have a 2000 sheet feeder the procedure is the same to replace the rollers in the 2000 sheet feeder, but getting at them is a little trickier. Open the right side transfer unit door. The blue feed rollers are easy to replace from this angle, however the pick-up roller is tricky. The pick-up roller is not visible but you can get at it by sliding out the tray and feeling behind the feed rollers. You need to pinch the small tab at the end of the roller while pulling the roller off the shaft. This isn't easy if you've never done this before, you are basically feeling in the dark for the roller because it's hard to see from this angle. Also, if you have large hands and a big arm you won't be able to squeeze your arm back there. It might be easier to remove the printer from the 2000 sheet feeder (careful, the printer is very heavy and requires two people to lift). With the printer removed from the 2000 sheet feeder, remove the top plate/cover and pull the tray out. You should be able to see the pick-up roller from this top view and remove the pick-up roller.

Other Steps in HP LaserJet 8100, 8150
- HP LaserJet 8100 8150 fuser installation instructions
- HP LaserJet 8100 8150 transfer roller installation instructions
- HP LaserJet 8100 8150 Cassette rollers installation instructions
- HP LaserJet 8100 8150 Tray 1 pickup roller and separation pad installation instructions
- HP LaserJet 8100 8150 Reset the maintenance count


