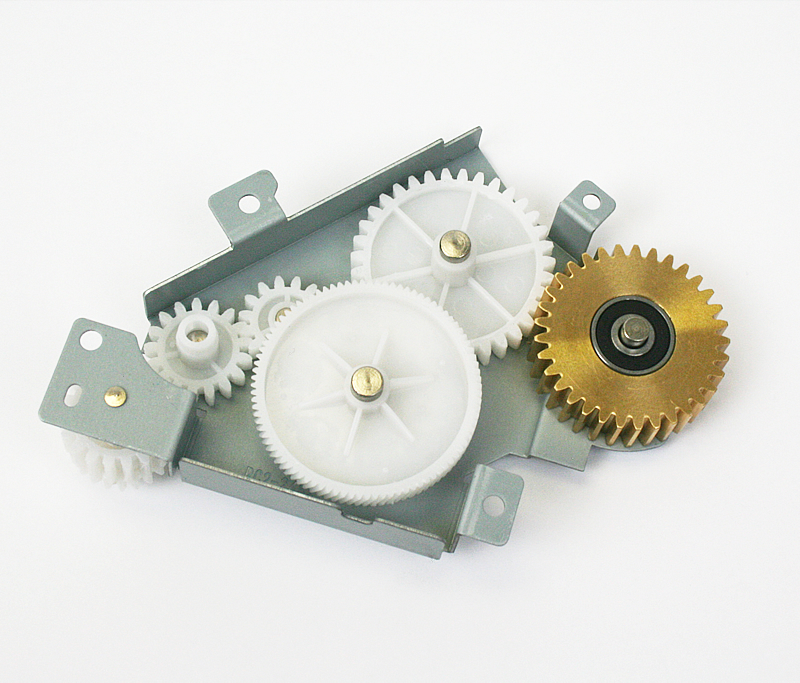
Replace the Fuser Drive Gears, HP LaserJet P4015
Now you need to remove a metal cover plate which is on the inner top/ “ceiling” of the printer and prevents access to one of the screws on the gear assembly. To remove this cover plate, there are 4 screws (see the next three pictures, shows 2 screws at the rear of the printer and also 2 screws at the front of the printer inside the toner access cavity.)
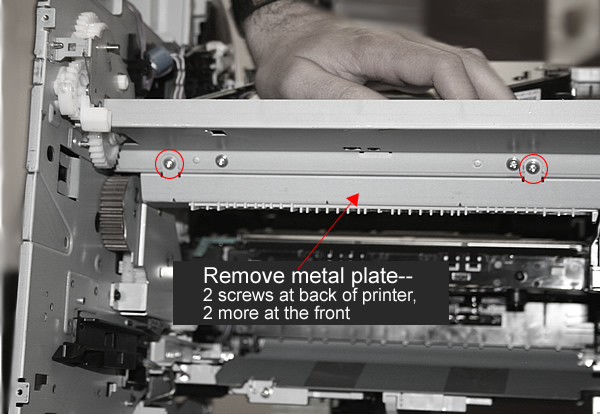
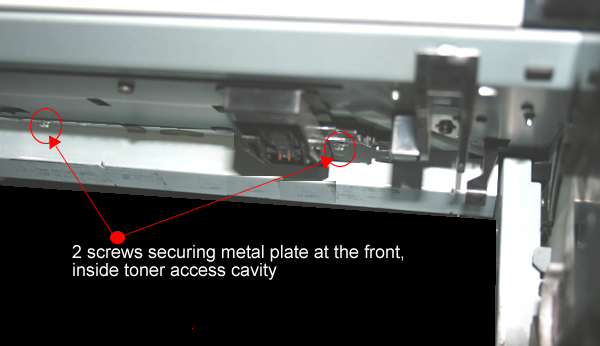
With the 4 screws removed, now you can remove the metal plate.
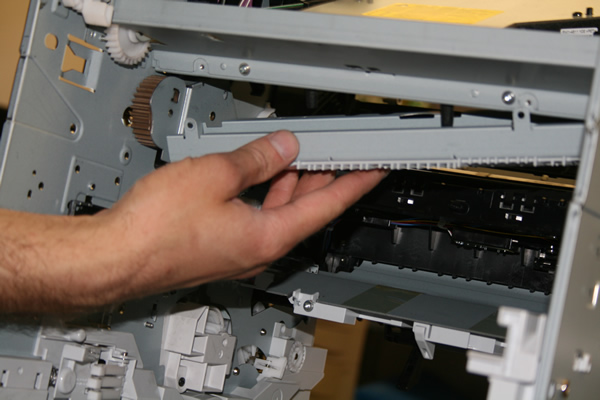
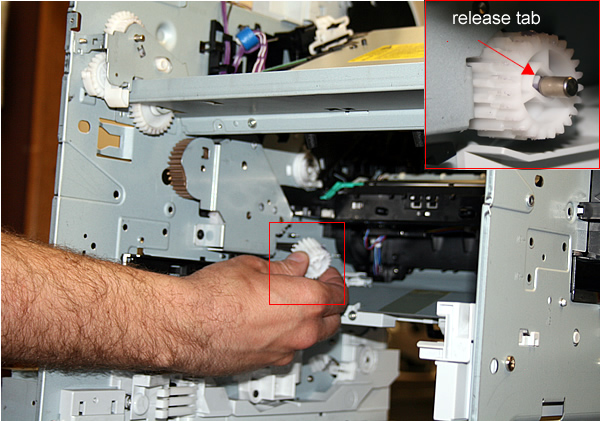
Next, remove the white gear circled below; press the plastic release tab on the gear (flatblade screwdriver will help) and slide it off the gear shaft.
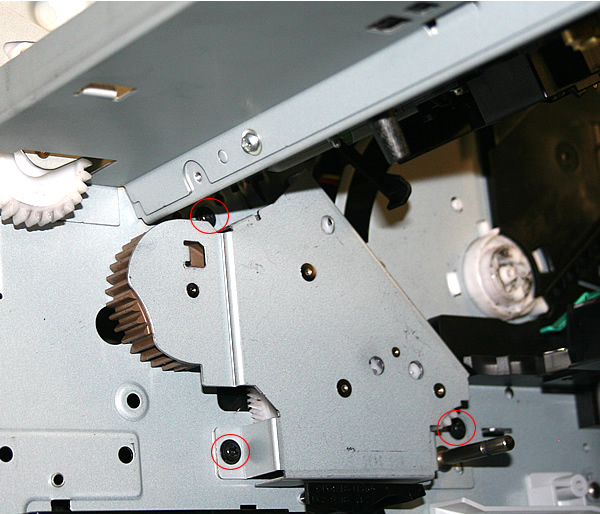
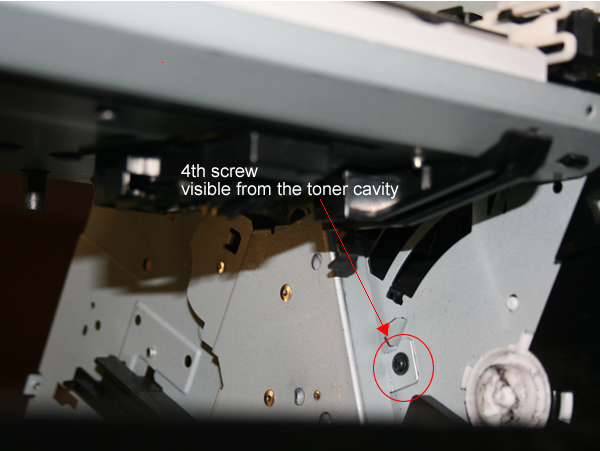
Next you need to remove the 4 screws which hold the metal cover and gear assembly. See 2 pictures below -- there are 3 screws in the first picture and the 4th screw is shown in the second picture. Please be careful -- the heads of these 4 screws are VERY easy to strip, so when you remove them use good screwdriver technique (torque each screw quite a bit to ensure good grip, before applying much force). Use good steady force so they won’t strip.
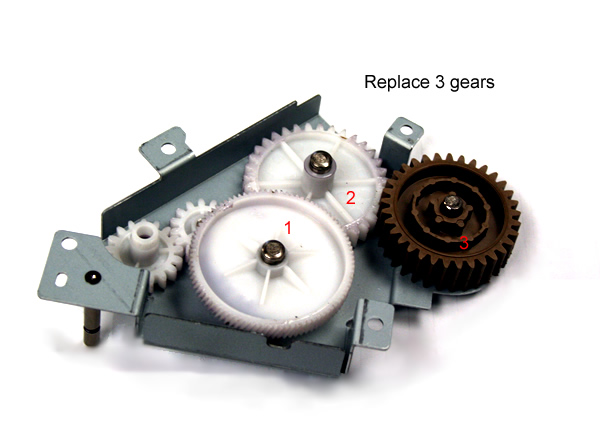
With that cover removed you can now change the 3 gears shown below.
That's it for the installation! Reassemble the printer in reverse order of the previous steps.


