
-
Home

-
Other instructions
-
Replacing the Swing Plate Assembly - Long Method
- Accessing the old swing plate assembly
Accessing the old swing plate assembly
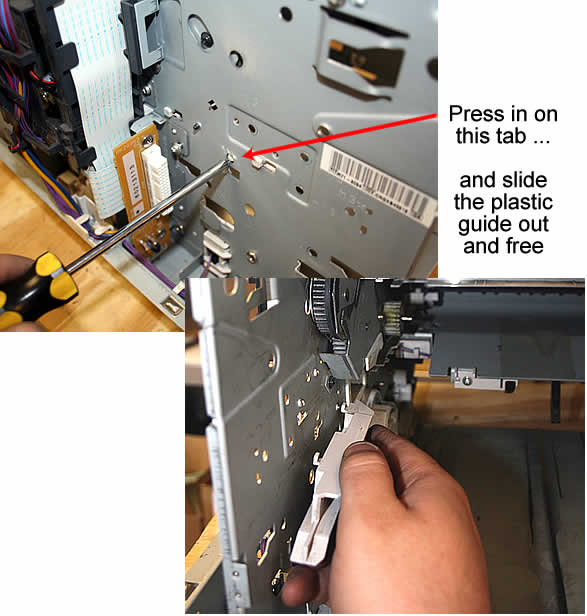
Next you will remove the plastic power supply guide.
Press in on the tab pointed out below, and slide the plastic power supply guide on the inside of the printer out and free.
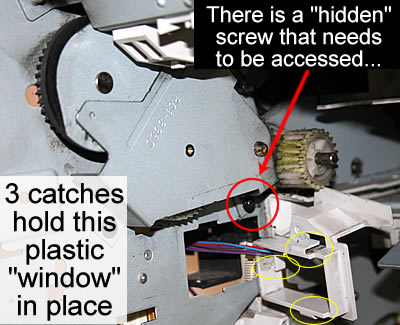
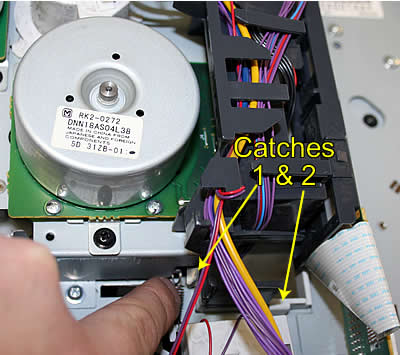
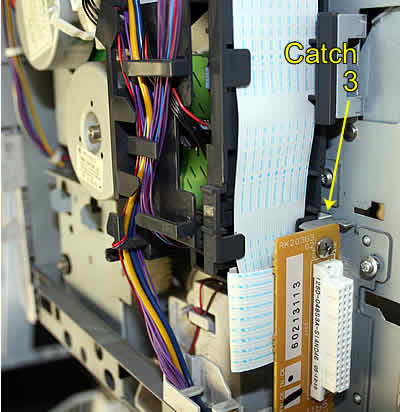
You will need to release and swing open the plastic "window" shown in the picture below. Release the three catches circled in yellow below; pictures of these catches follow.
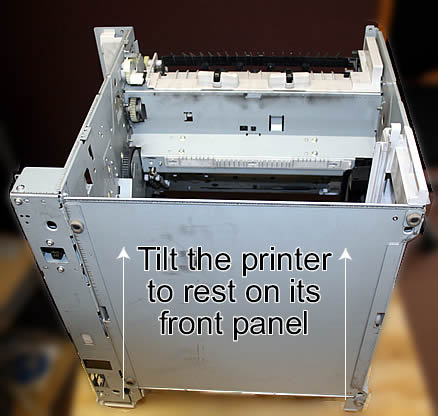
Now tilt the printer to rest on its front panel.
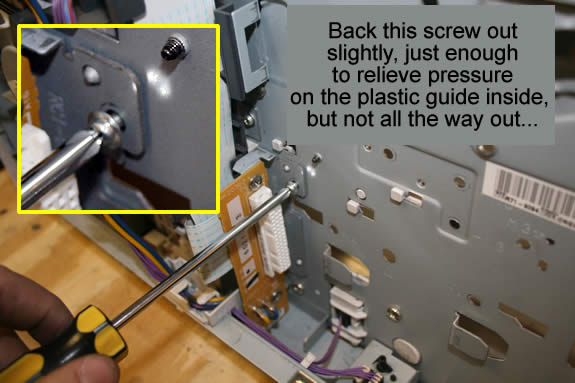
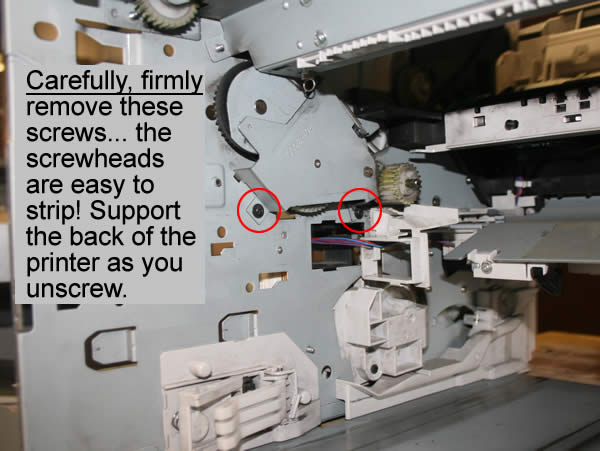
Very carefully, but firmly, remove the 2 screws shown below that secure the swing plate. The screw heads on these screws are VERY easy to strip ... You will want to very careful! It is a good idea to support the back of the printer as you unscrew, just for extra pressure.
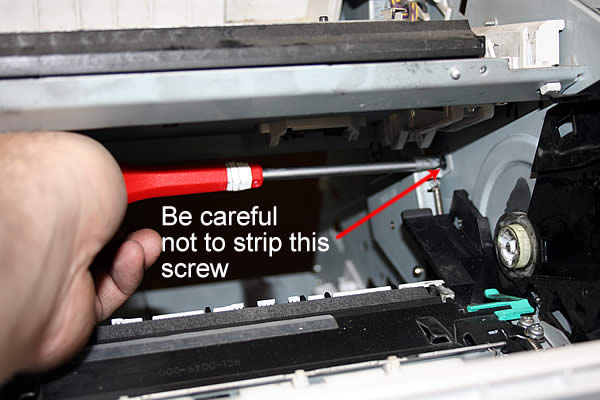
Flip the printer back around to access the third screw, which is visible inside the toner cartridge cavity. Again, this screw head is very easy to strip, so unscrew it carefully and firmly support the printer as you remove the screw.
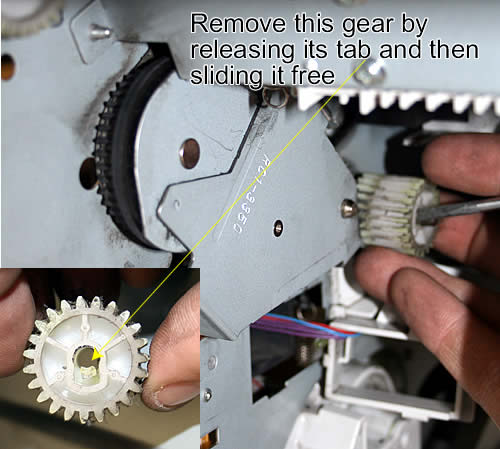
Now flip the printer back around for easy access. Remove the gear pictured below ; release its tab with a flat blade screwdriver and then slide the gear free from its shaft.
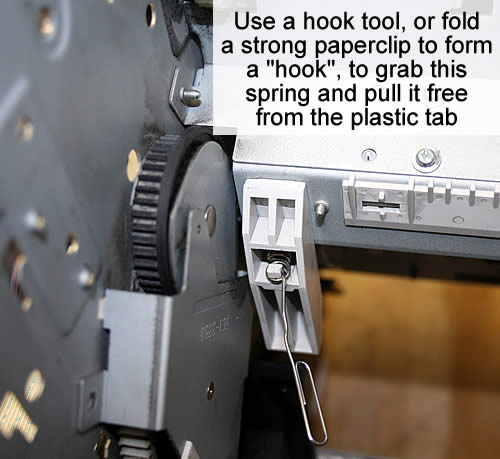
Now use a hook tool (or fold a strong paperclip into a "hook" shape) to grab the spring pictured below; and pull the spring free from its plastic tab.
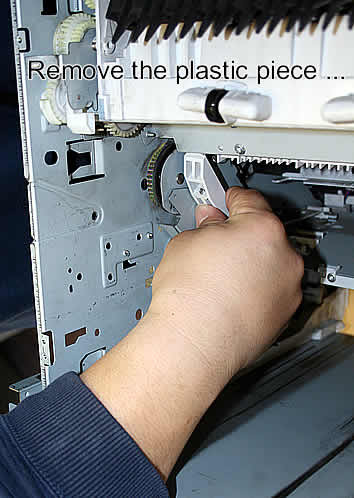
With the spring unhooked you can remove the plastic piece.
Other Steps in Replacing the Swing Plate Assembly - Long Method
Tech Support
Featured Articles

