HP Color LaserJet M575 mfp roller kit installation instructions
Installing the roller kit
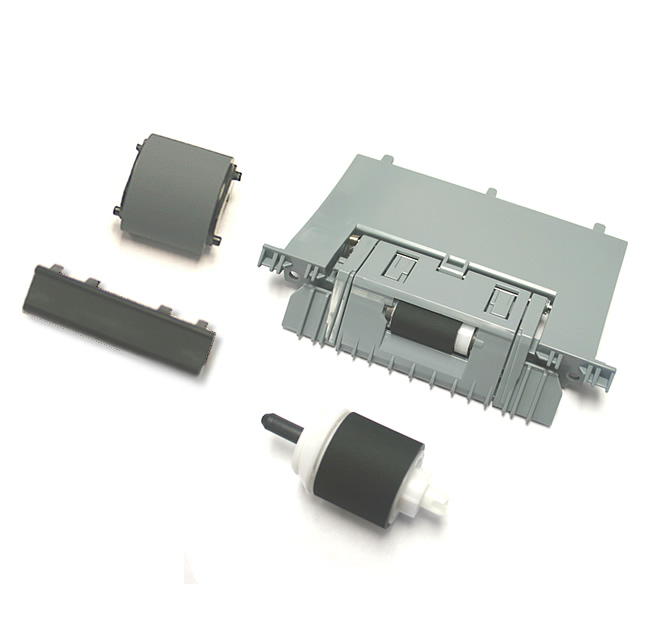
This roller kit is sold separately from the fuser maintenance kit, see link above for purchasing.
Roller kit includes
- Tray 1 pickup roller
- Tray 1 separation pad
- Tray 2 pickup roller
- Tray 2 separation roller assembly
Replacing the Tray 1 pickup roller and separation pad (manual feed tray)
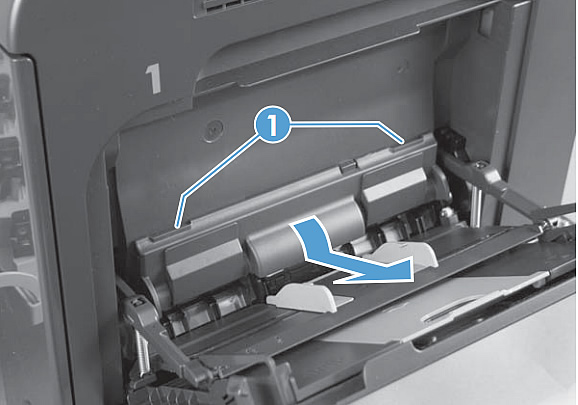
Open Tray 1 door. Release 2 tabs (callout 1 in picture below) that hold the top of the plastic cover, then rotate the cover away from the printer to remove it.
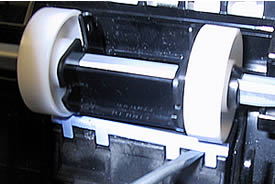
Next you will remove the Tray 1 pickup roller. On both sides near the top of the pickup roller is a set of blue tabs, flex those tabs outward away from the roller, to release the top of the roller; rotate the roller down and away from the printer to remove it. Usually it takes a couple tries to flex the blue tabs enough to release the top of the pickup roller.
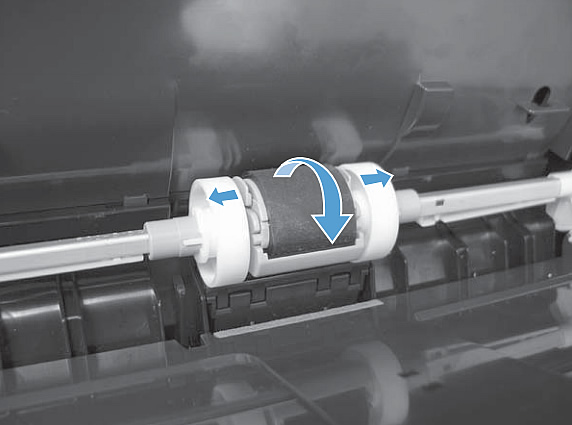
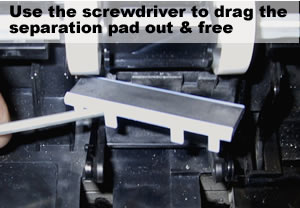
The separation pad is sitting underneath the pickup roller, so once you remove the old pickup roller, go ahead and remove the separation pad underneath it (before installing the new pickup roller.) Use a flatblade screwdriver to pry up on the separation pad and free it from its base. It may also help to press down on the base with a finger while prying the pad up with the screwdriver; pressing the base down this gives you a tad more room to work.
|
|
|
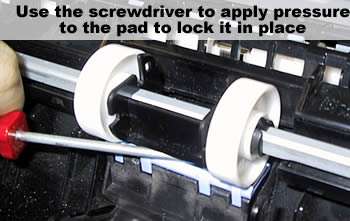
Installing the new separation pad is a bit tricky; make sure the little "teeth" face you; you will probably want to use 1 finger to hold the base down as you install the pad, to give you more space to work. Insert the new separation pad, and then press down on the entire surface of the pad to make sure it locks firmly in place onto the base.
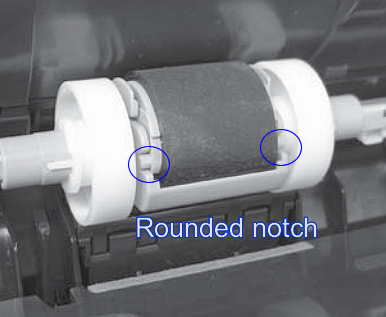
Now you are ready to install the new Tray 1 pickup roller. Notice at both sides of the bottom of the roller is a rounded notch; that notch inserts first into the roller retainer, then you rotate the roller up towards the printer to lock the top portion of the roller in place. See picture below of correctly installed roller.
Replacing the Tray 2 pickup roller and separation roller assembly (main cassette tray)
First, remove the main cassette tray ; pull it completely out of the printer.
Look up inside the Tray 2 cavity, find the little blue roller-locking lever (see picture below) and pull that locking lever down to release it.
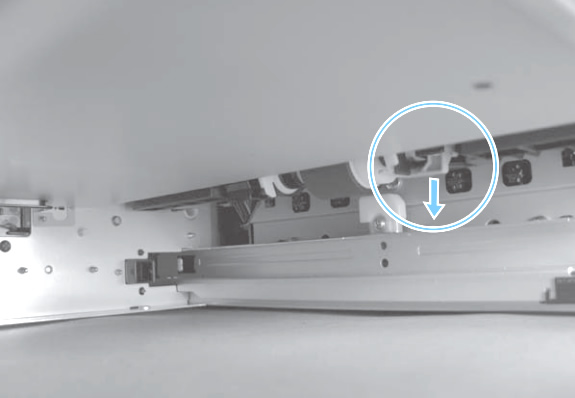
Next, pull the pickup roller toward the front of the printer to release the tail end of the roller shaft. (see picture below)
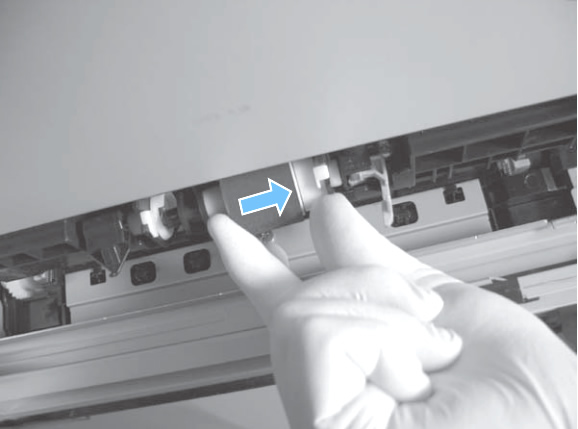
Now rotate the tail end of the roller shaft down and away, and then slide the entire roller backwards towards the rear of the printer to release the front of the roller shaft and remove the pickup roller completely.
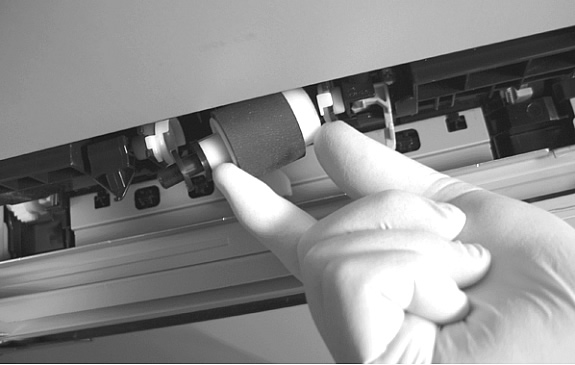
When you re-install the new roller, make sure the roller is oriented correctly; the white collar should be positioned towards the front of the printer. (see picture below).
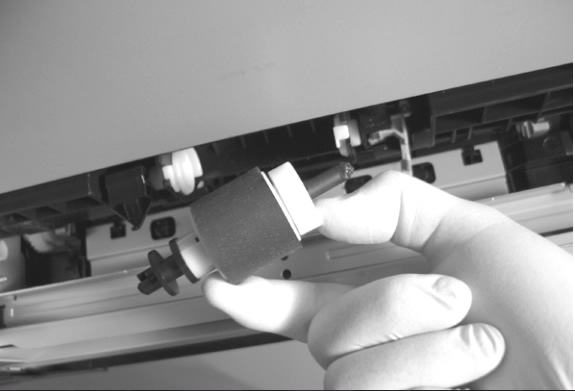
Install the new pickup roller and lock it in place; you should hear a "click" when the roller's shaft fully engages the drive mechanism.
Next, pull out the main cassette tray, and remove the 2 screws which hold the separation roller assembly in place (see picture below). Remove the separation roller assembly.

Install the new separation roller assembly and re-tighten the 2 screws.
Other Steps in HP LaserJet M575 mfp
- Installing the Fuser HP Color LaserJet M575 mfp
- Installing the Standard Roller Kit HP Color LaserJet M575
- Installing ADF pickup roller and separation pad HP Color LaserJet M575mfp


