HP LaserJet 5100 transfer roller installation instructions
Installing the transfer roller.

Note: HP recommends wearing latex gloves when handling the transfer roller to prevent getting skin oils on the rubber. This is not necessary if you are careful to touch only the ends of the roller.
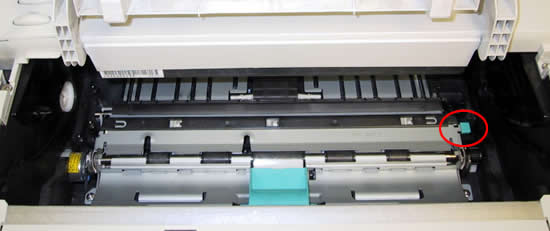
Open the top cover and remove the toner cartridge. Flip up the metal plate with the green handle circled below.
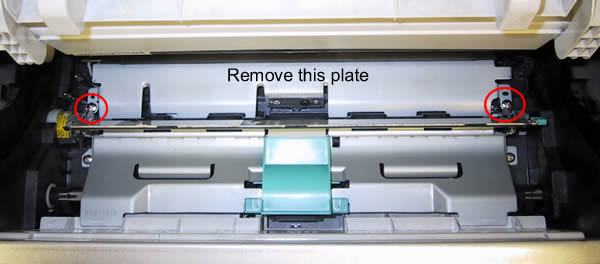
Remove the two screws circled below and remove the metal plate.
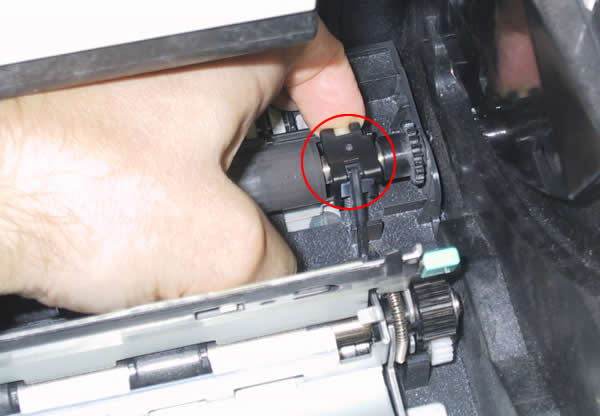
The right side of the transfer roller is held in place by a black plastic hinged clip. Carefully notice how it is snapped in place so you remember how to replace it. Pry it off towards you with your finger.
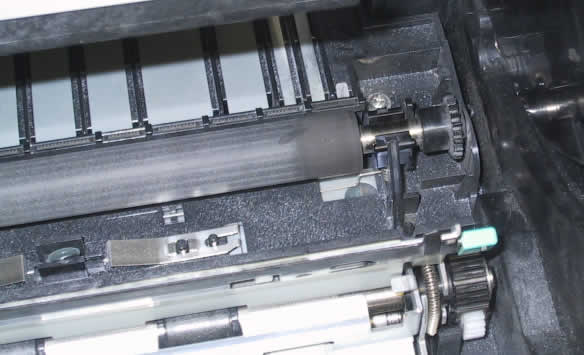
Below is a picture of the transfer roller with the clip removed.
Use the small blue plastic transfer roller removal tool that came with your printer or use your fingers to lift up the left side of the transfer roller. Then remove the right side of the roller from its mount.
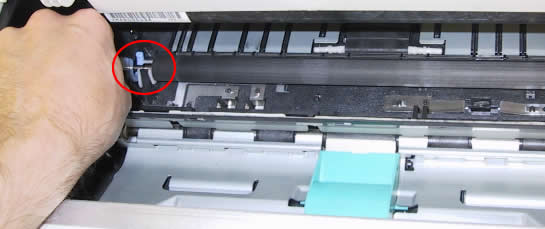
When installing the new transfer roller, be careful that the black gear on the right side of the roller does not fall off. If it does, slide it back in place on the transfer roller before attempting to install the roller. Install the new transfer roller being careful not to touch the rubber surface. Skin oils can affect print quality. Reinstall everything you have removed.
Other Steps in HP LaserJet 5100
- HP LaserJet 5100 fuser installation instructions
- HP LaserJet 5100 transfer roller installation instructions
- HP LaserJet 5100 Tray 1 pickup roller and separation pad installation instructions
- HP LaserJet 5100 250-sheet tray pickup roller and separation pad installation instructions
- HP LaserJet 5100 500-sheet optional cassette pickup roller , feed roller , and separation roller installation instructions
- HP LaserJet 5100 Reset maintenance count


