
-
Home

-
Maintenance Kit Instructions
-
HP LaserJet 5100
- HP LaserJet 5100 250-sheet tray pickup roller and separation pad installation instructions
HP LaserJet 5100 250-sheet tray pickup roller roller and separation pad installation instructions

Installing the 250-sheet tray pickup roller and separation pad
 |
 |
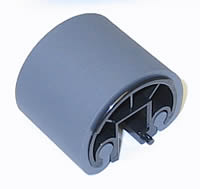
This procedure pertains to all 250-sheet trays installed in the printer. Remove the 250 sheet tray(s). The pick-up roller is located up and inside the printer tray cavity.
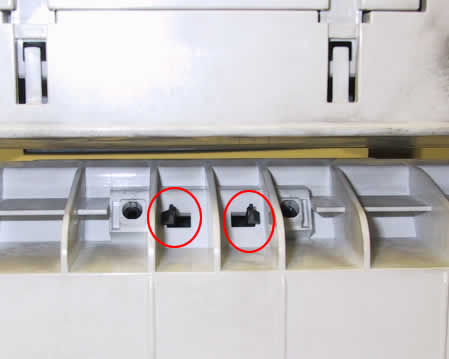
Press the white tab circled below on the white disc. This will allow you to slide the pick-up roller and the white disc to the right.
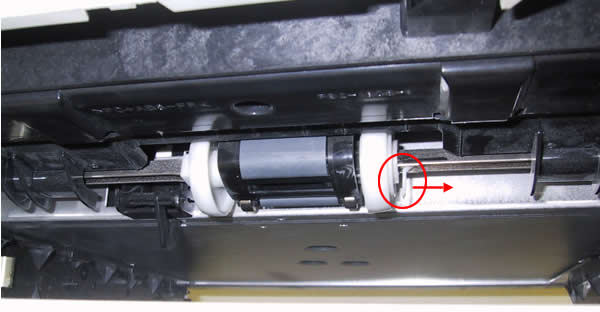
Now slide the roller back to the left so it is centered between the two white discs. Rotate the roller 180 degrees and it will drop down.
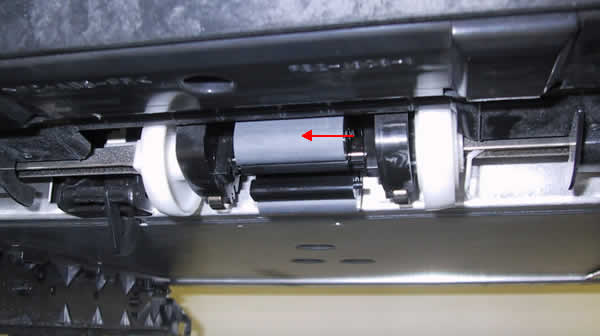
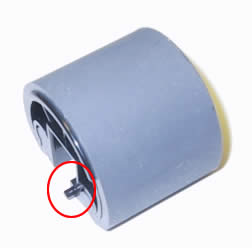
To install the replacement roller make sure the pin on the roller circled below is on the right. Rotate the roller 180 degrees so the rubber is facing up. Slide the white disc back toward the center and make sure the roller is seated.
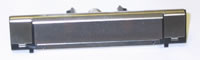
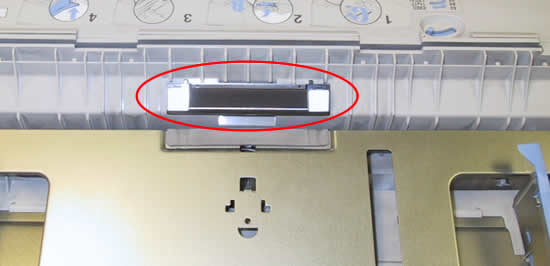
The separation pad is located in the tray. Remove the tray from the printer, flip the tray over and you will see two black tabs holding the pad in place. Pinch the tabs and remove the pad.
Transfer the spring from the base of your old pad onto the new pad; then reinstall the new pad.
![]()
Other Steps in HP LaserJet 5100
- HP LaserJet 5100 fuser installation instructions
- HP LaserJet 5100 transfer roller installation instructions
- HP LaserJet 5100 Tray 1 pickup roller and separation pad installation instructions
- HP LaserJet 5100 250-sheet tray pickup roller and separation pad installation instructions
- HP LaserJet 5100 500-sheet optional cassette pickup roller , feed roller , and separation roller installation instructions
- HP LaserJet 5100 Reset maintenance count
Tech Support
Featured Articles

