HP Color LaserJet 5550 manual feed pickup roller and separation pad installation instructions
Installing the manual feed tray pickup roller and separation pad.
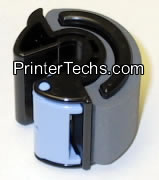
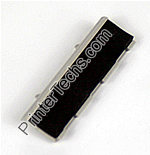
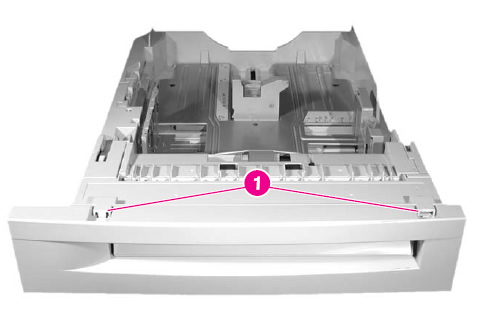
The manual feed tray pickup roller and separation pad are actually "hidden" inside the front cover of the main paper cassette tray. Follow the steps below to access these parts.
1. Remove the Tray 2 cassette.
2. At the front of the Tray 2 cassette, there are 2 small tabs "locking" the front cover in place. Unhook the two tabs (shown in callout 1), and open the cover.
3. Rotate the roller so the blue snap is on top. Release the blue snap by prying it with a flatblade
screwdriver (callout 2).
4. Lift the roller off of the shaft.
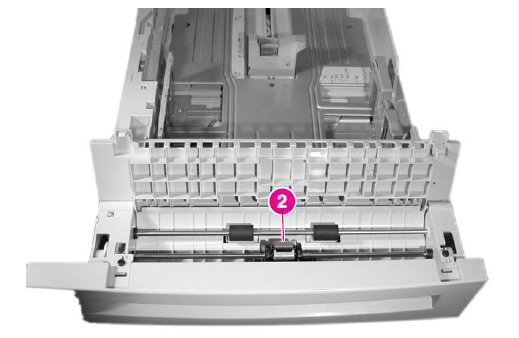
5. Do not install the new pickup roller yet. You will next remove and replace the separation pad, which sits below the roller.
6. To provide easier access to the separation pad, remove the E-clip from either of the black idler rollers and slide the rollers out of the way (see callout 1).
7. Press down on the separation pad holder and unhook the two tabs on the separation pad (callout 2).
8. Rotate the separation pad forward and remove it.
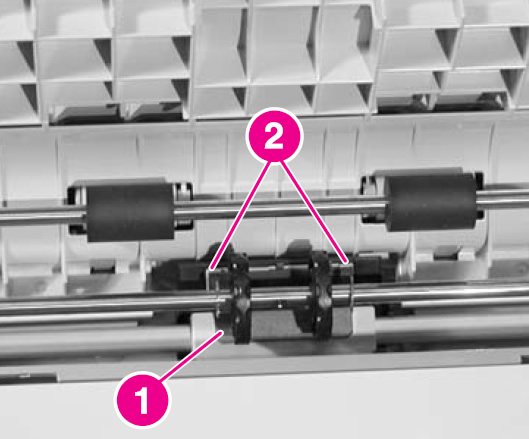
9. Now you can install the new separation pad ; press firmly to lock down the pad.
10. Next install the new pickup roller.
Other Steps in HP LaserJet 5550
- HP Color LaserJet 5550 fuser installation instructions
- HP Color LaserJet 5550 manual feed pickup roller and separation pad installation instructions
- HP Color LaserJet 5550 cassette pickup roller , feed roller, separation roller installation instructions
- HP Color LaserJet 5550 Reset the fuser page count


