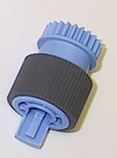
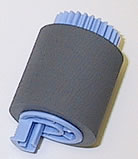
HP Color LaserJet 5550 cassette pickup roller , feed roller, separation roller installation instructions
Installing the cassette pickup roller , feed roller, and separation roller.


1. Remove the main cassette tray.
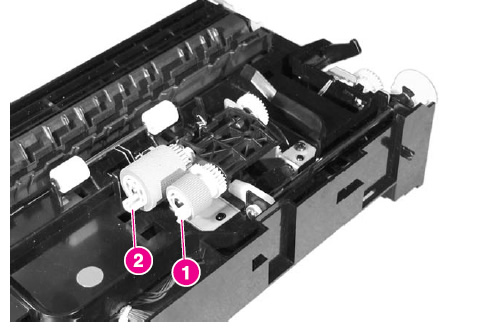
2. Look inside the printer , above the cassette cavity, and locate the two rollers shown in the picture below. The pickup roller is the smaller roller (callout 1), and the feed roller is the larger roller (callout 2).
3. To remove the rollers, pinch the tab on the end of each roller and slide it off its shaft. Install the new rollers and slide until they lock in place.

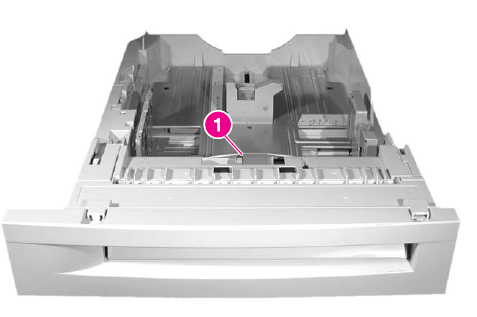
Next you will replace the separation roller.
This is located at the front of the main cassette tray, see callout 1 in the picture below. Pinch the tab on the roller and slide it off the shaft. Install the new roller and slide it until it locks in place.

Other Steps in HP LaserJet 5550
- HP Color LaserJet 5550 fuser installation instructions
- HP Color LaserJet 5550 manual feed pickup roller and separation pad installation instructions
- HP Color LaserJet 5550 cassette pickup roller , feed roller, separation roller installation instructions
- HP Color LaserJet 5550 Reset the fuser page count


