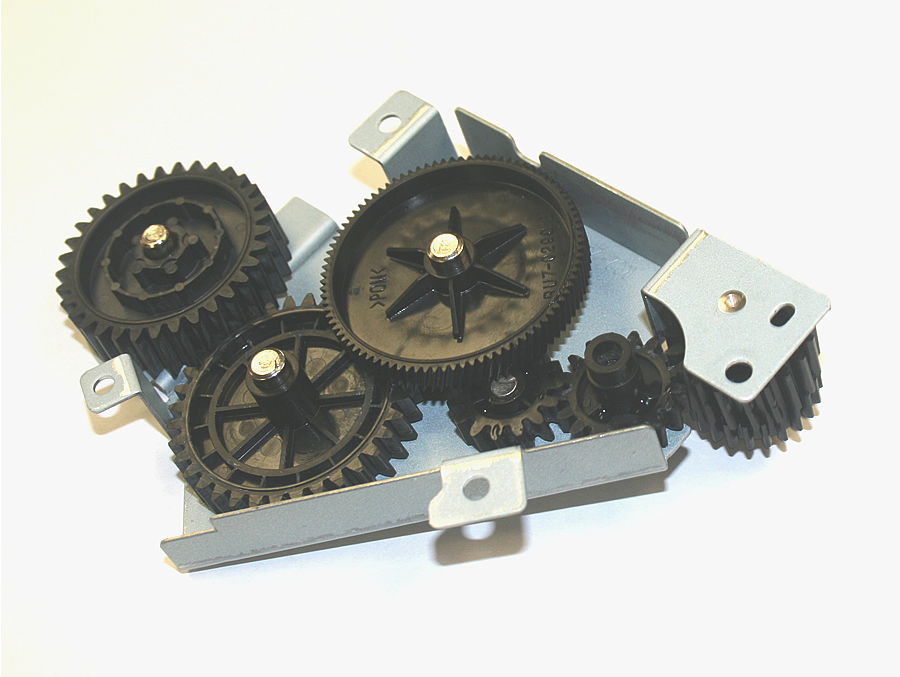
Replacing Fuser Drive Assembly HP LaserJet M600 M601 M602 M603

If you hear grinding noises from the rear of your HP LaserJet M601, M602 or M603 series printer, you probably need to replace the fuser drive assembly. Often, the noise becomes more obvious when a new fuser is installed, because the gears on the new fuser do not mesh well with the worn-out gears in your printer.
NOTE: We sell a repair kit to fix this problem. This is considered a major repair. For those of you familiar with printer repair, the process for installing these gears will be similar to replacing the swing plate assembly on the LaserJet 4250/4350 series printers..
Below is a list of the steps you’ll need to follow to replace this part, download the Service Manual and use that as a reference to guide each step.
Step 1 Remove the following parts (see service manual for exact instructions)
- Remove toner
- Remove Tray 2
- Remove Duplexer cover or Duplexer (if installed)
- Remove Formatter Cover & Formatter
- Remove Top Accessory Cover
- Remove Top Cover
- Remove Right Side Cover
- Remove Left Side Cover
- Remove Rear Output Bin
- Remove Fuser Assembly
Step 2 unplug the main electronic controller unit from the DC controller board, unscrew the unit, and slide the unit out …
-- See this page for more help which shows a similar model being unplugged, unscrewed, and removed http://www.printertechs.com/other-instructions/93-p4014-p4015-changing-gears/365-removing-the-fuser-and-power-supply-hp-laserjet-p4015
Step 3 unscrew and remove the fuser drive gear assembly
-- For step 3, again here’s a link to the P4015 page which is the same procedure. http://www.printertechs.com/other-instructions/93-p4014-p4015-changing-gears/411-replace-the-fuser-drive-gears-hp-laserjet-p4015
-- You can access the metal cover plate which is on the inner top/ “ceiling” of the printer and prevents access to the gear assembly. There are 4 screws to remove that cover plate from the inner ceiling of the printer. With that plate removed, you can access the cover for the gear assembly; there are 4 screws that hold the cover for the gear assembly in place. (These last 4 screws are VERY easy to strip, so use good force so they don’t strip). With that cover removed you can change the gear assembly and reassemble.


